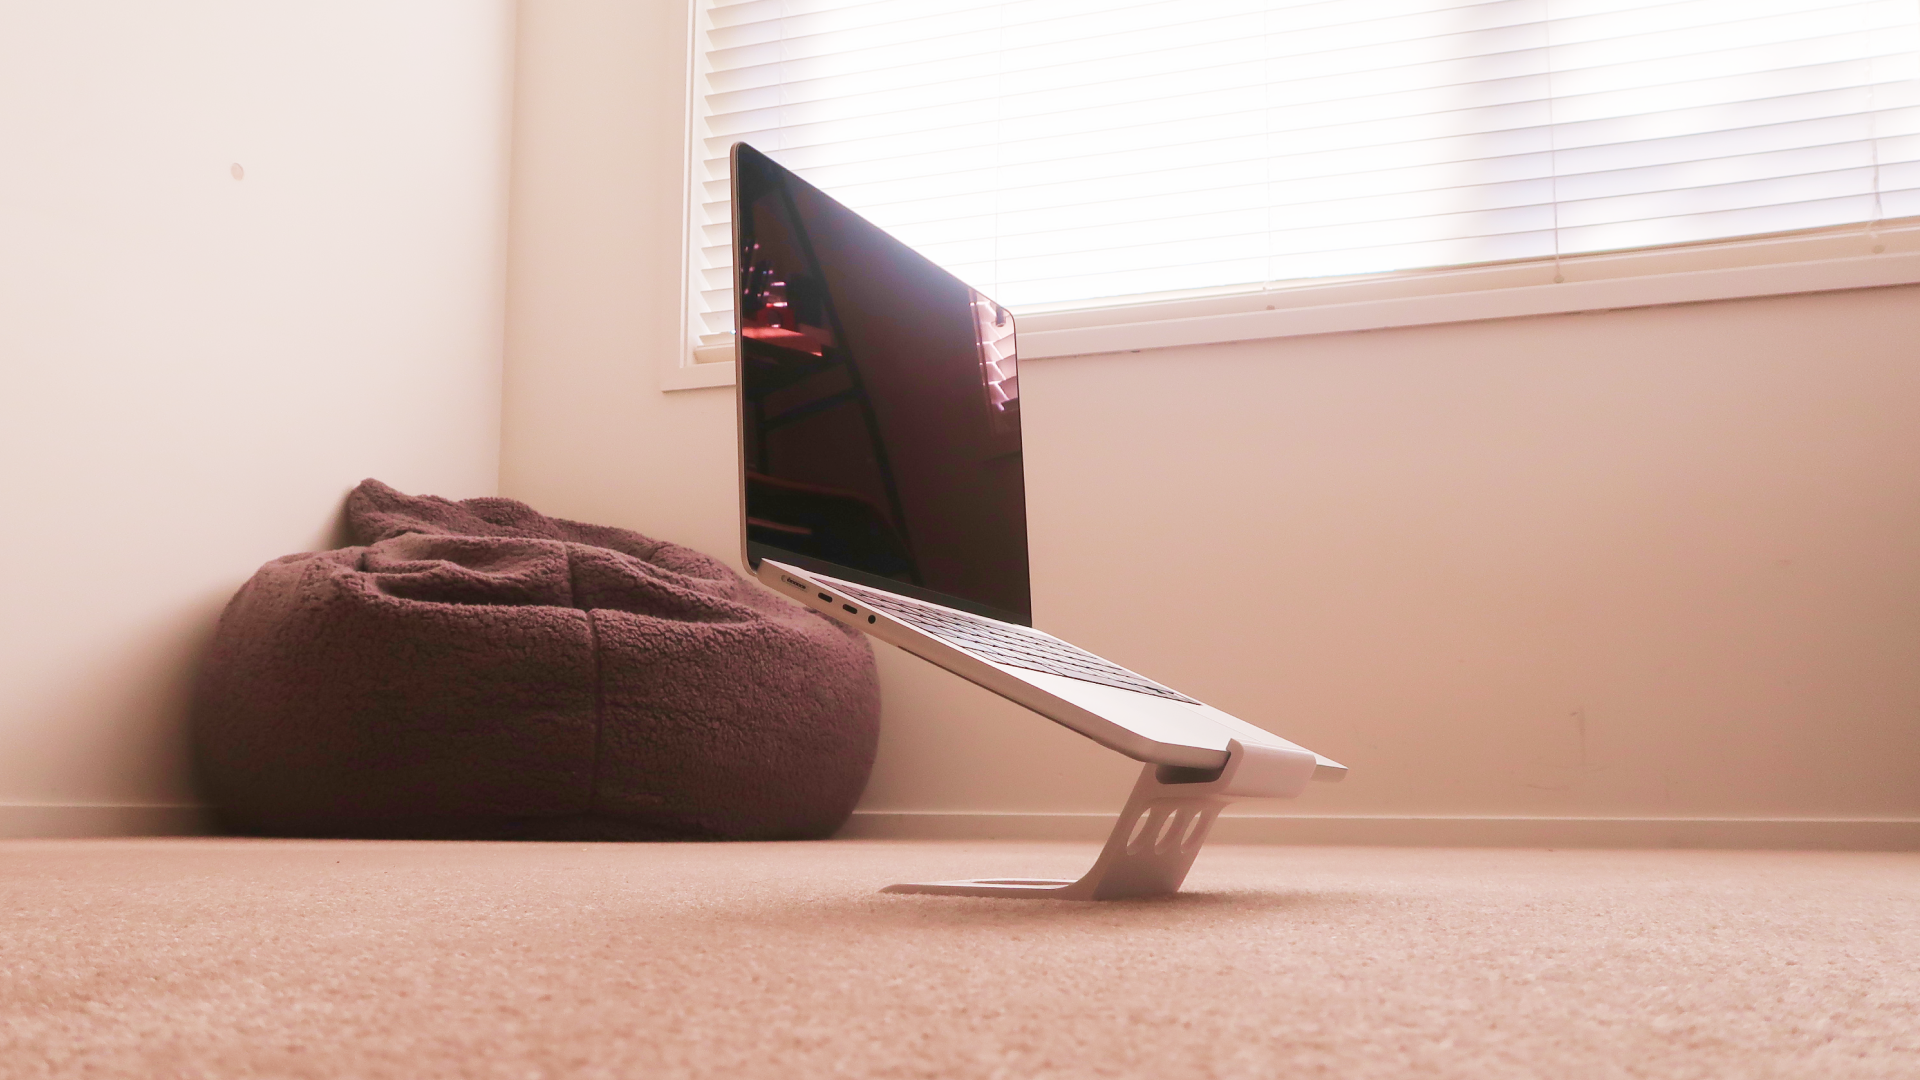
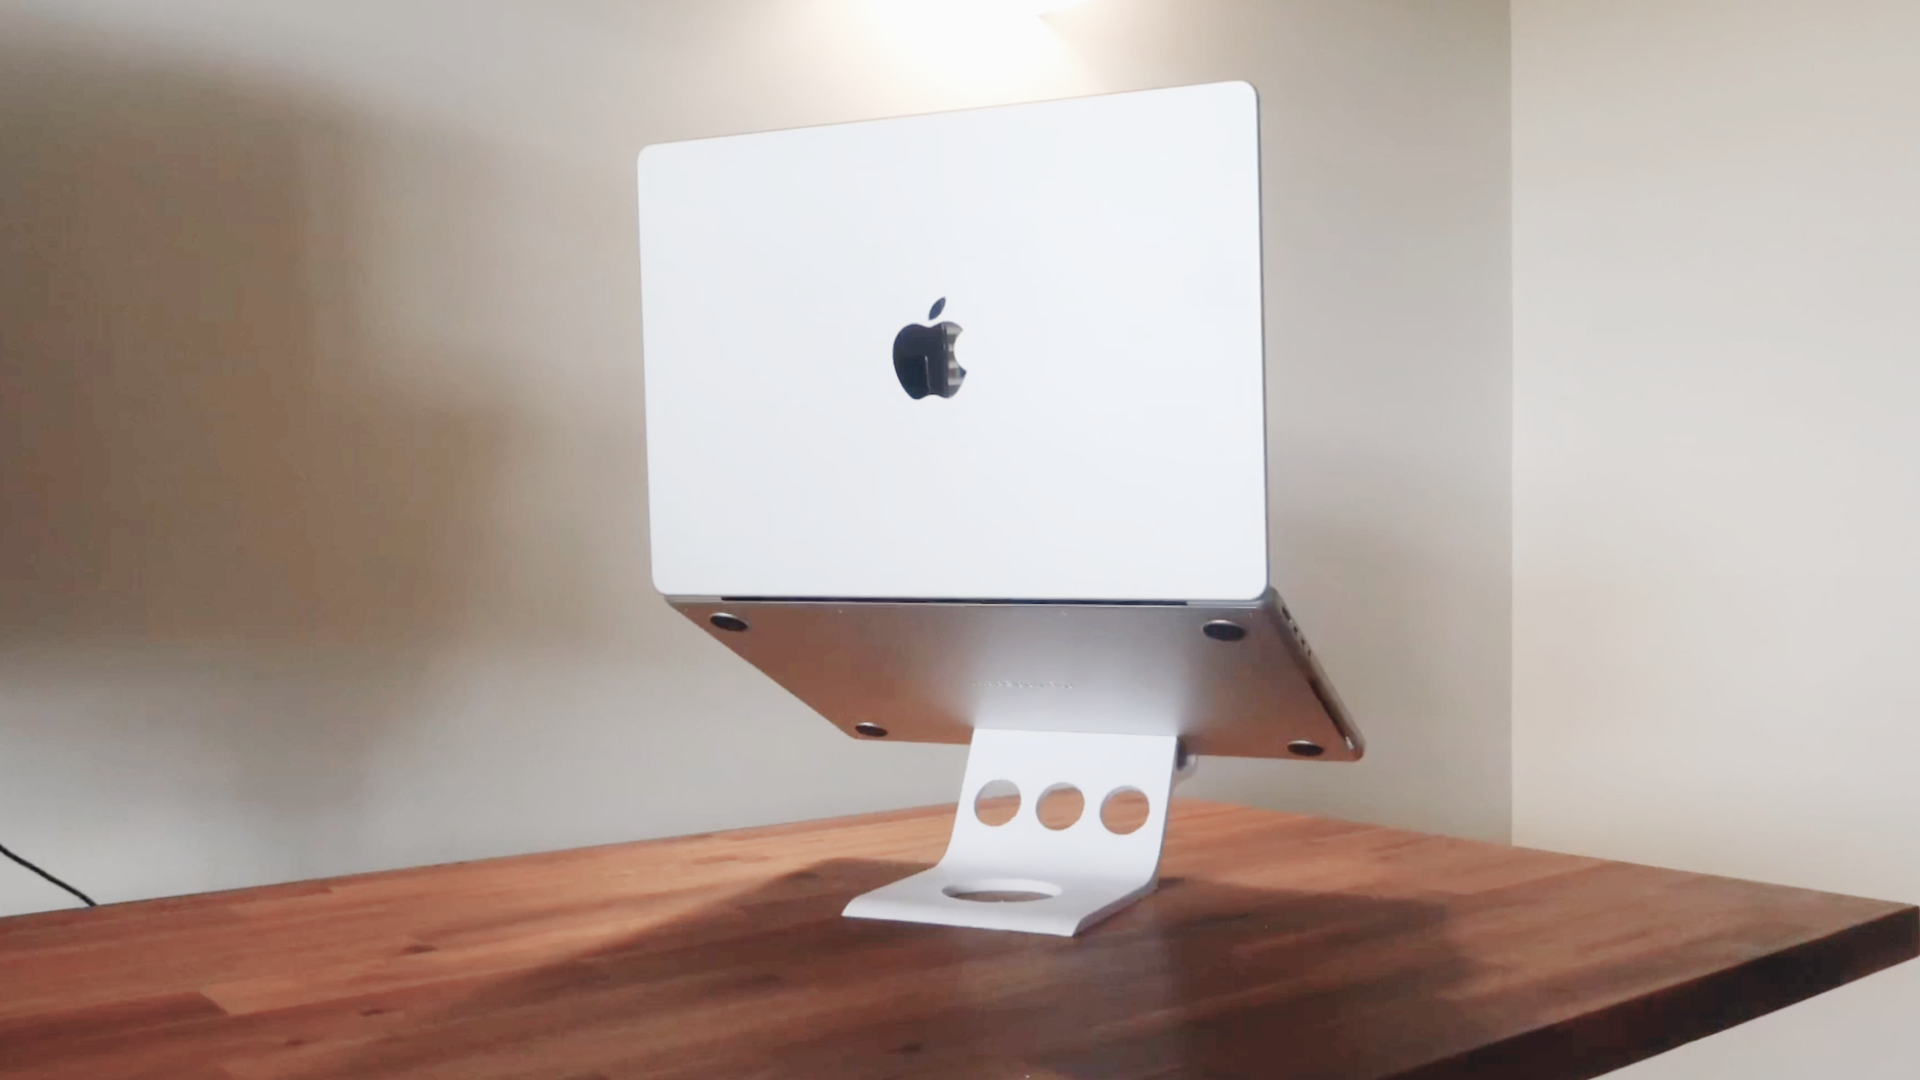
Say hello to the latest addition to my workspace: an elegant 3D printed laptop stand that I designed recently, and printed by my old friend, Ender 3 v2 3D printer.
I make a YouTube video for the whole making process, if you're interested, you can check it out HERE.
I record the whole building process video, you can watch on YouTube


I believe this stand not only adds some new style to my desk but also boosts some level of my productivity by providing a more ergonomic viewing angle for my laptop.
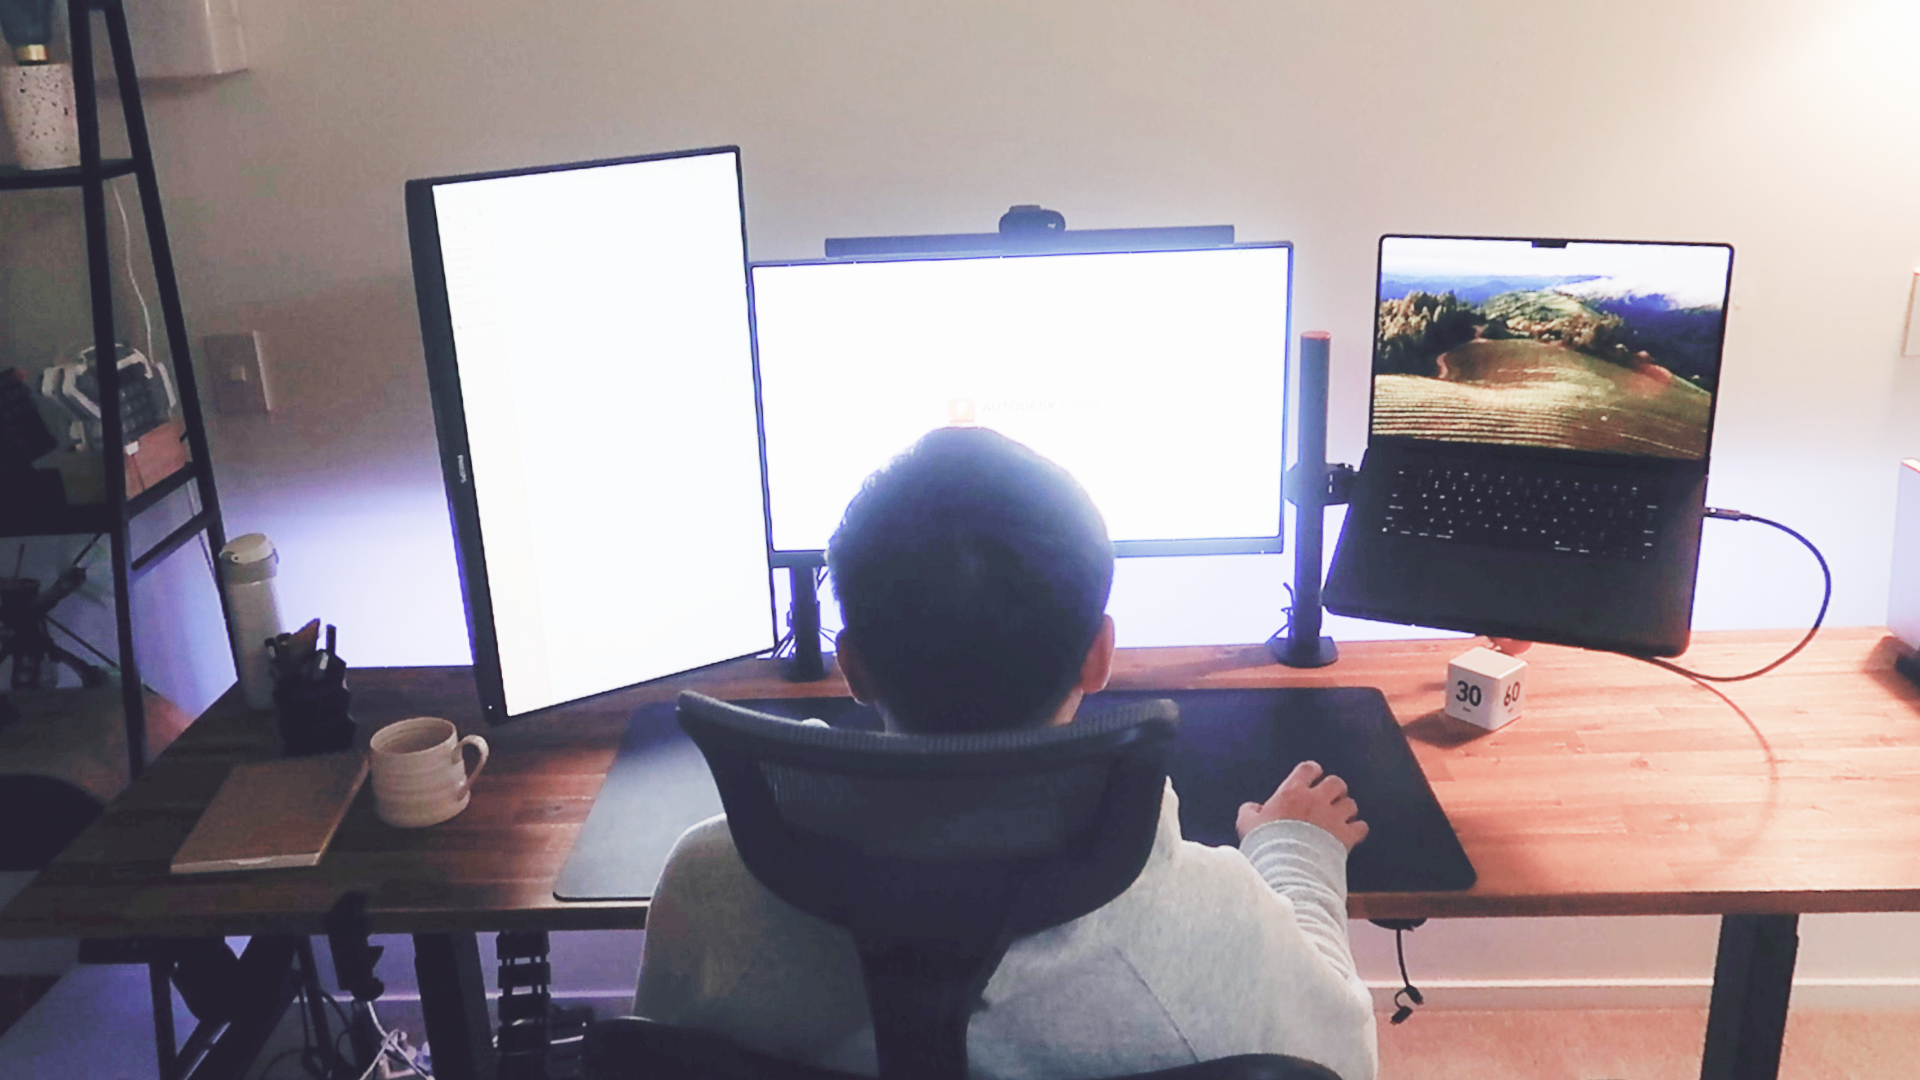
I've used the stand for a while, and it works perfectly.
Why?
Working from home for many years, I spent a lot of time at my desk in front of my multiple monitors.
Every few months, I review my setup and try to improve my workflow or add something new or fun to my desk.
I've tried different types of laptop stands, but this time I just want something different, It’s the time to create one with uniques and aesthetically pleasing.
Design and Preparation
Inspired by wooden, balanced designs I stumbled upon online, I started on the journey to make the laptop stand out.
I was not quite sure I can achieve it by using 3D printing and the filament(PLA) is strong enough for holding my laptop.
After some pondering and tweaks, I finally had a solid idea. Here's how the designing process went:
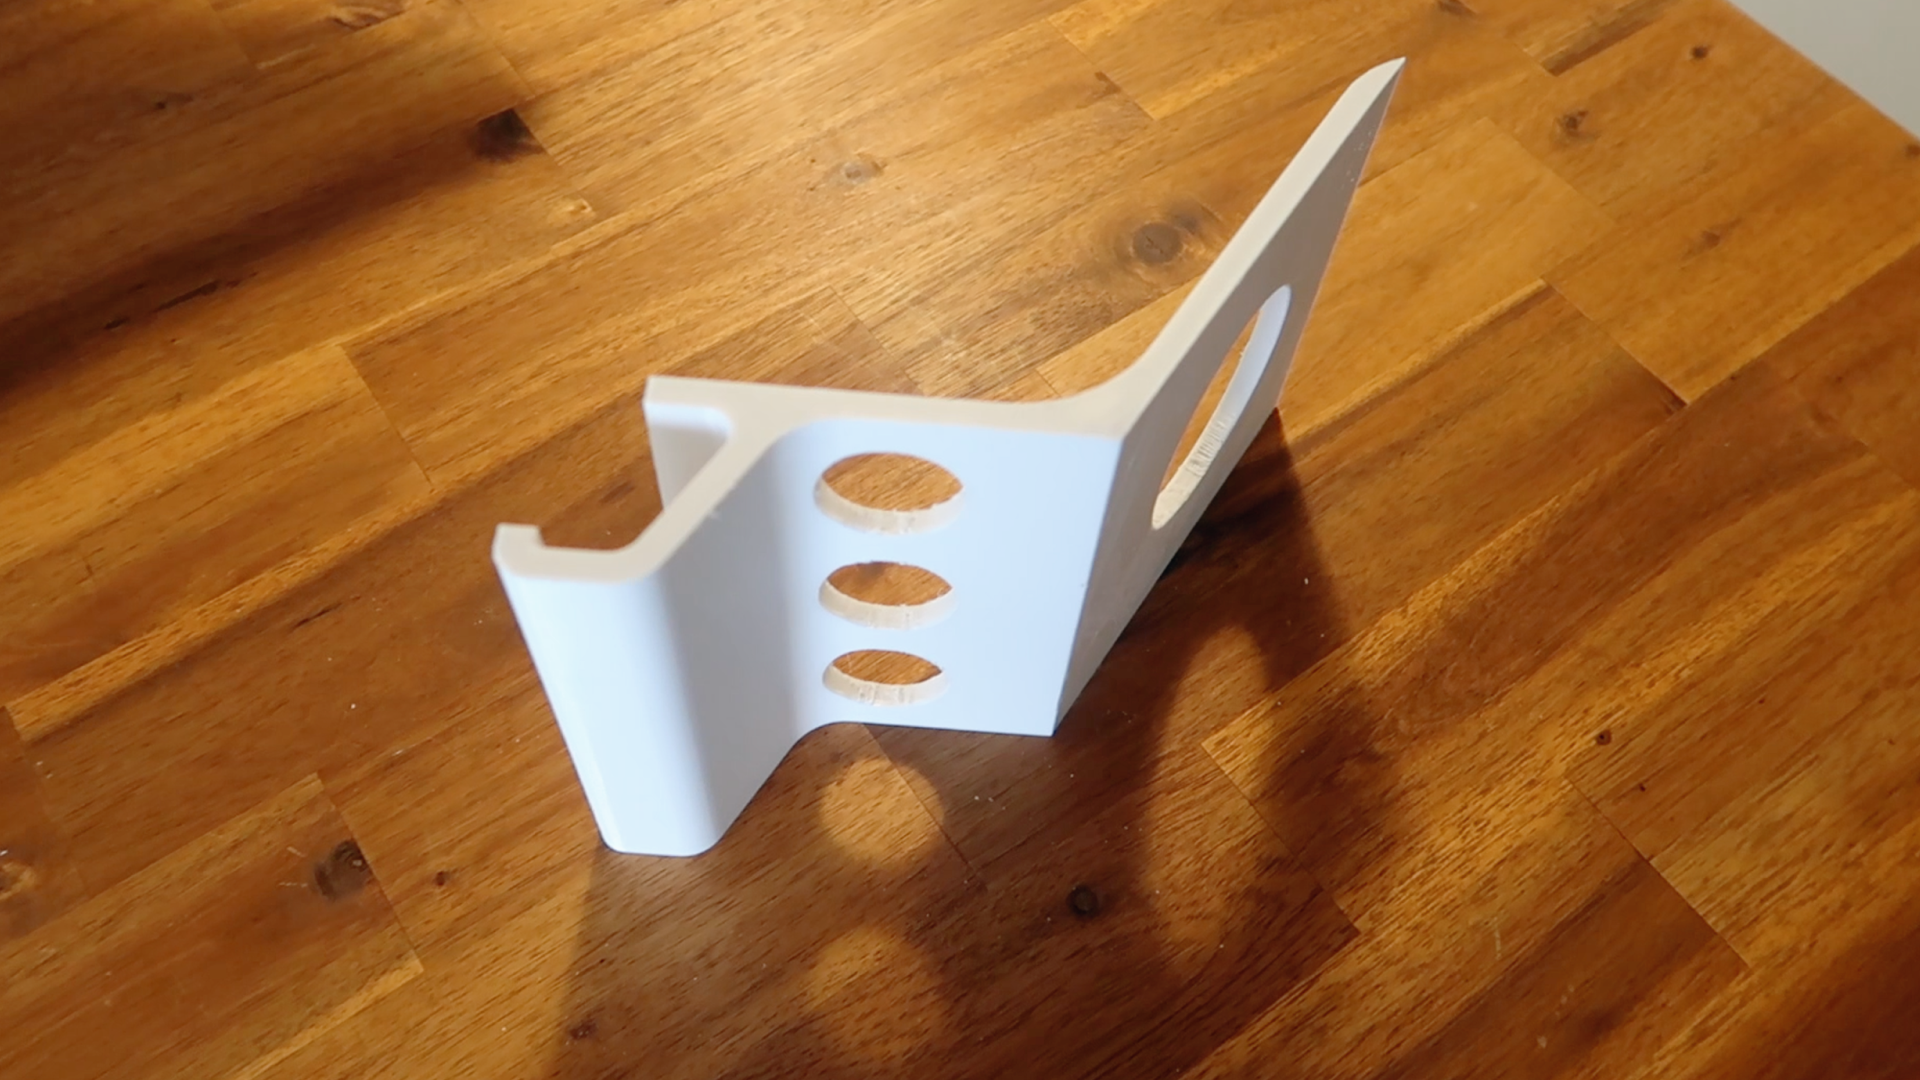
I measured dimensions of my laptop and drew the conceptual design.
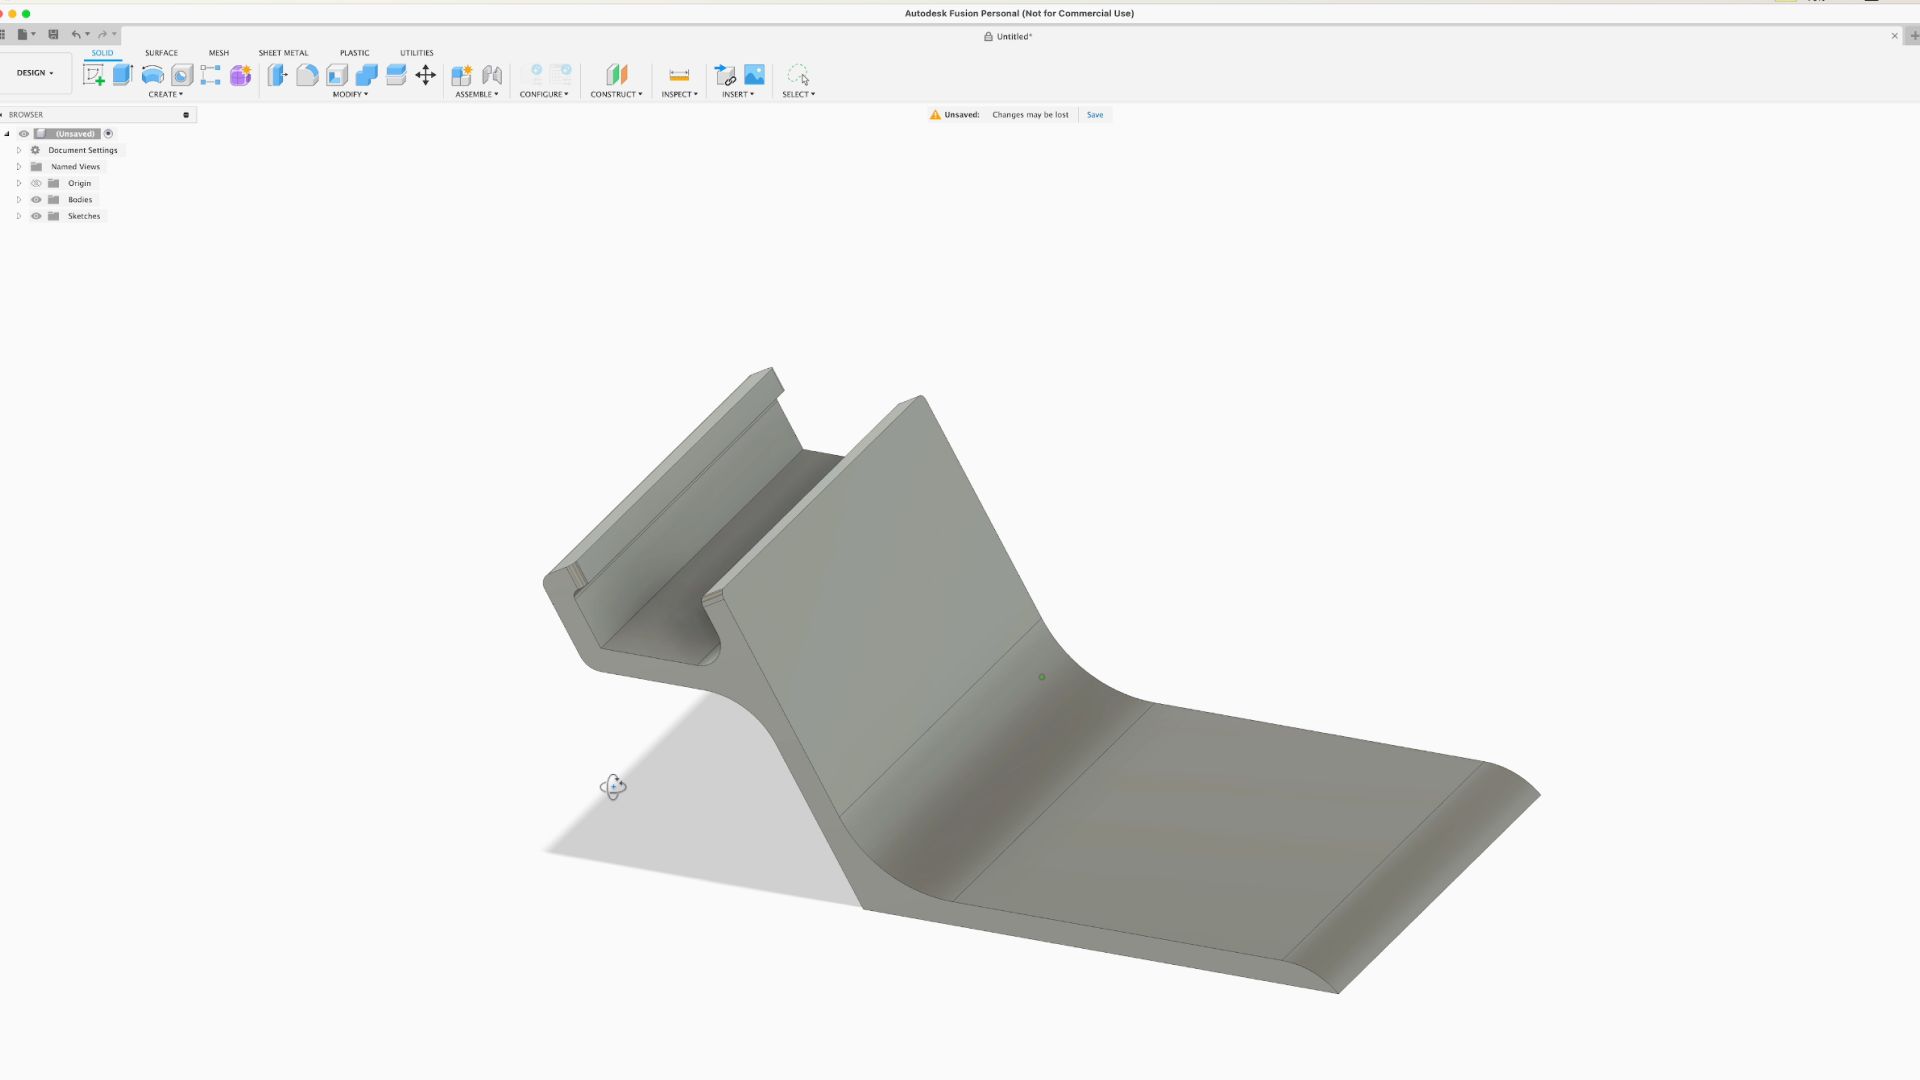
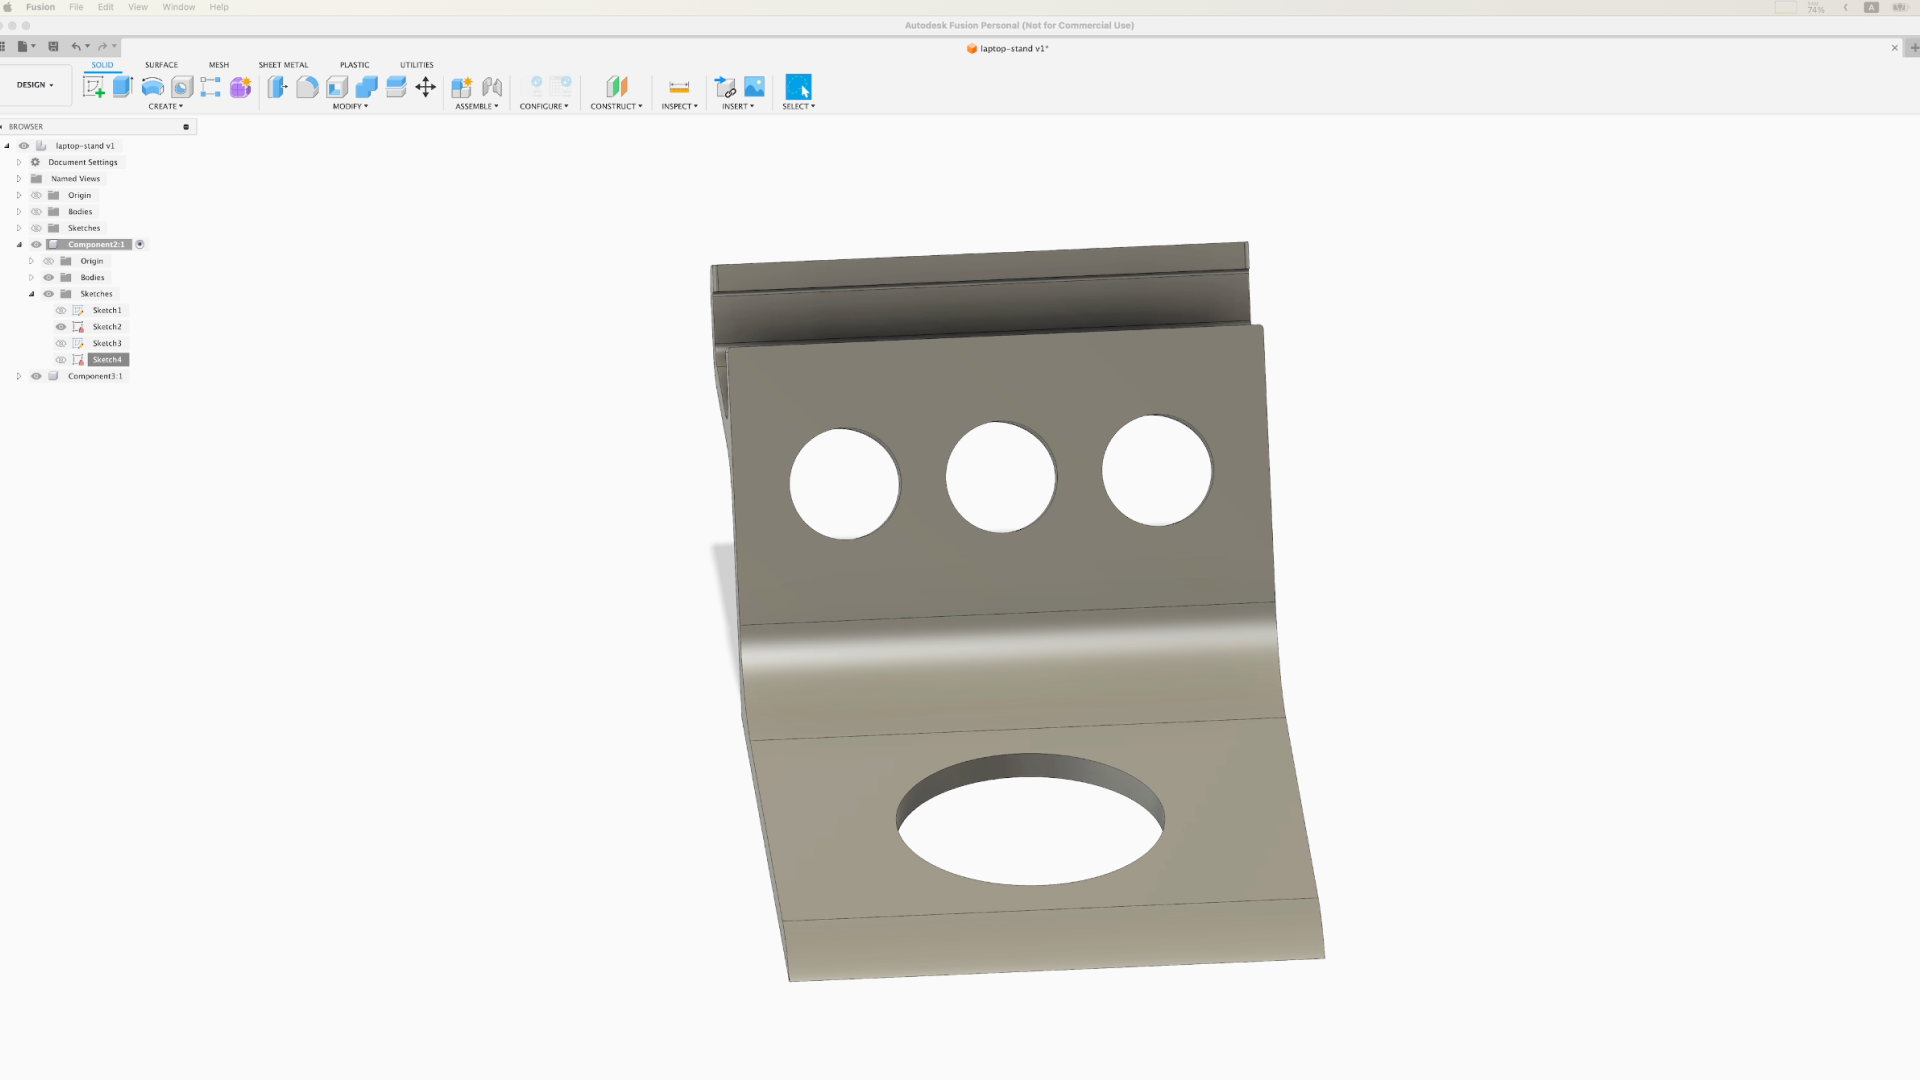
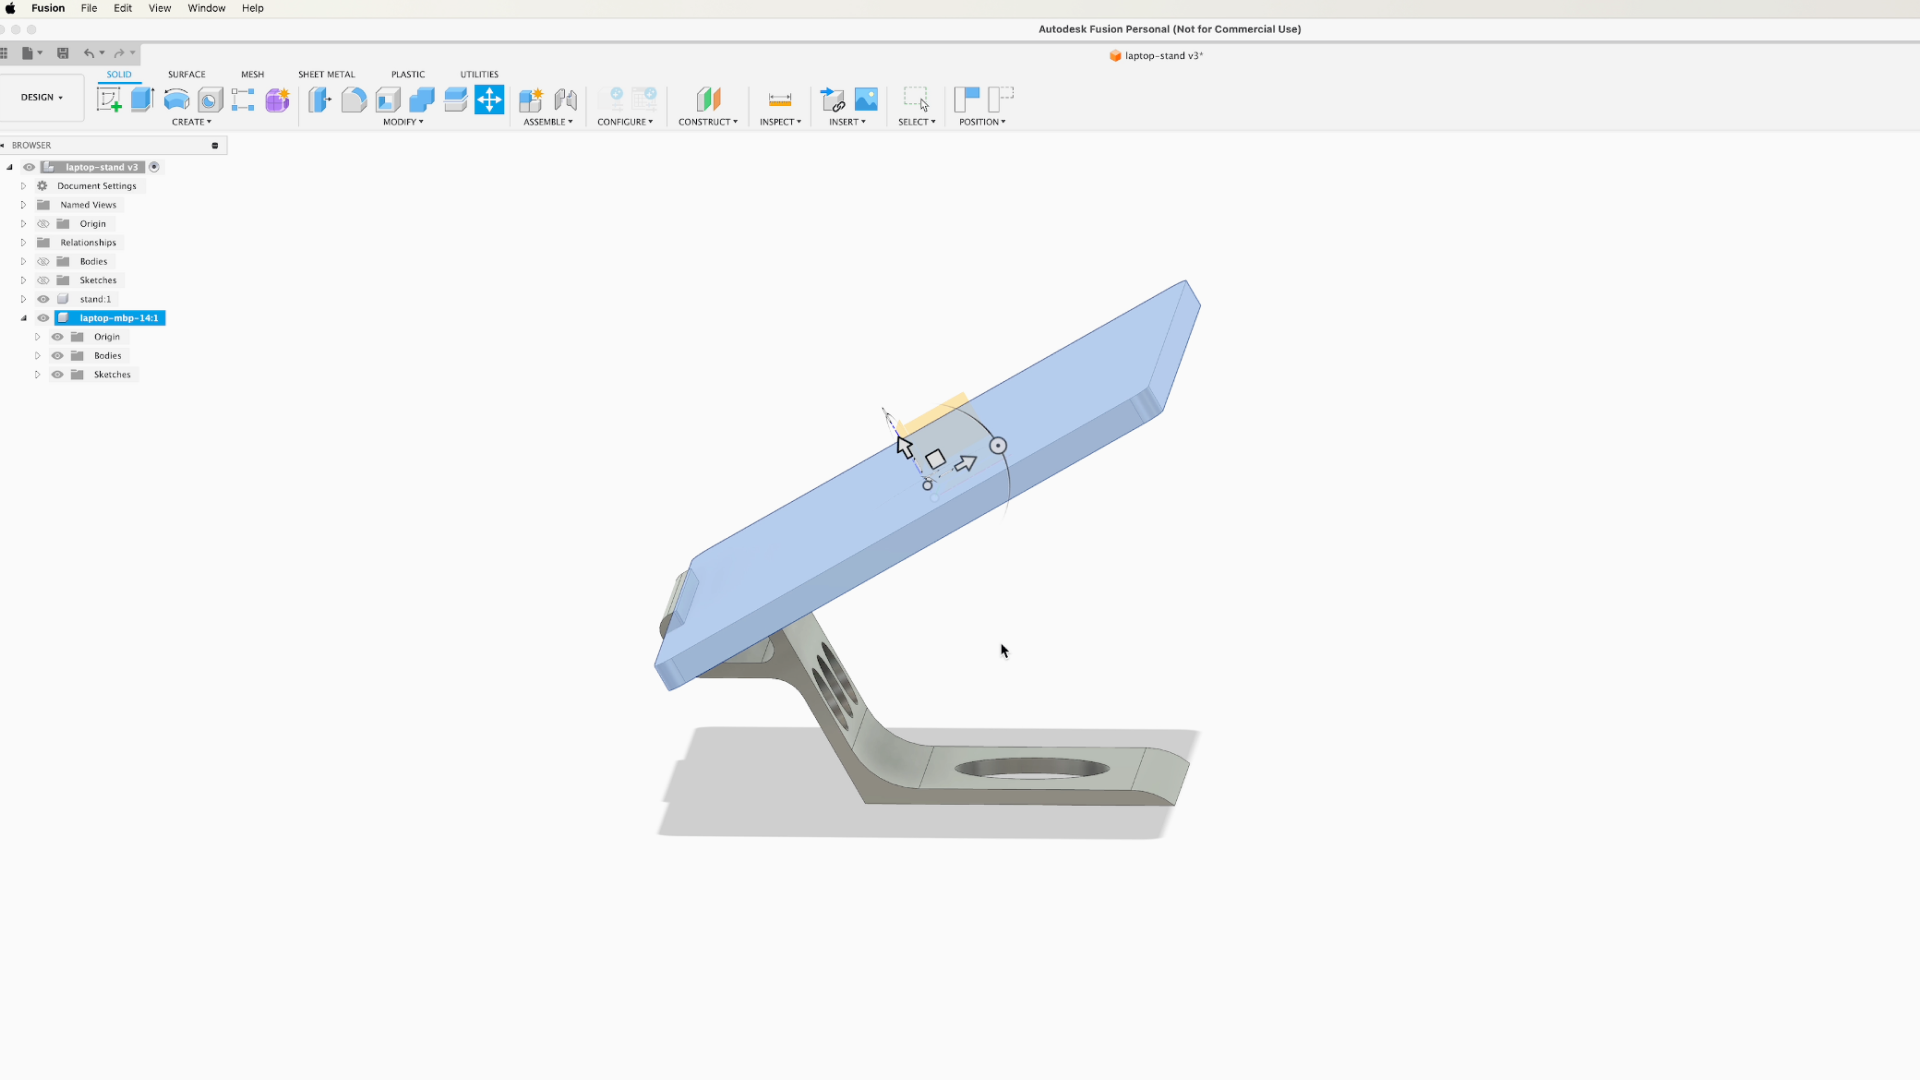
I used Fusion 360 to create the 3D model based on the design.
I made a 2D drawing cross-section first. It helps me decide the size and the angle of the stand.
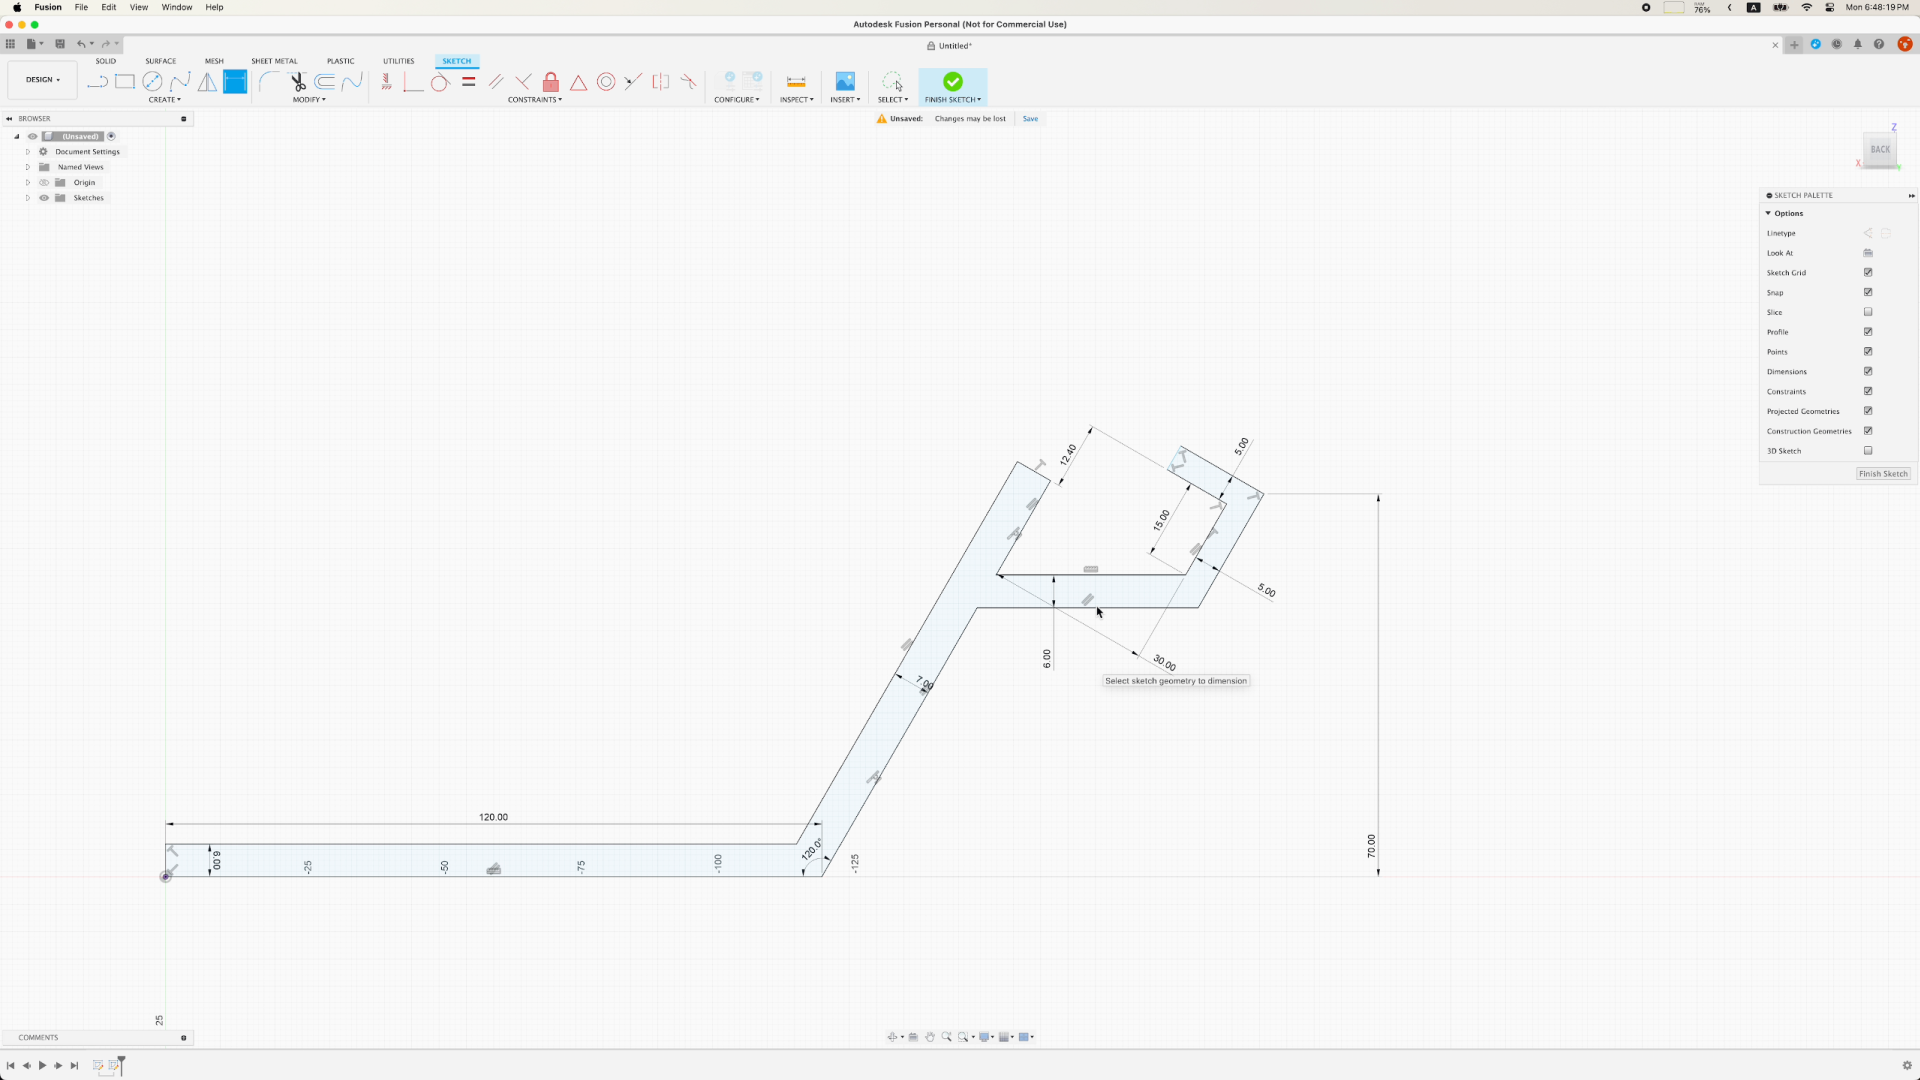
Here I added some holes for saving filament and printing time, also to help with the cable management.
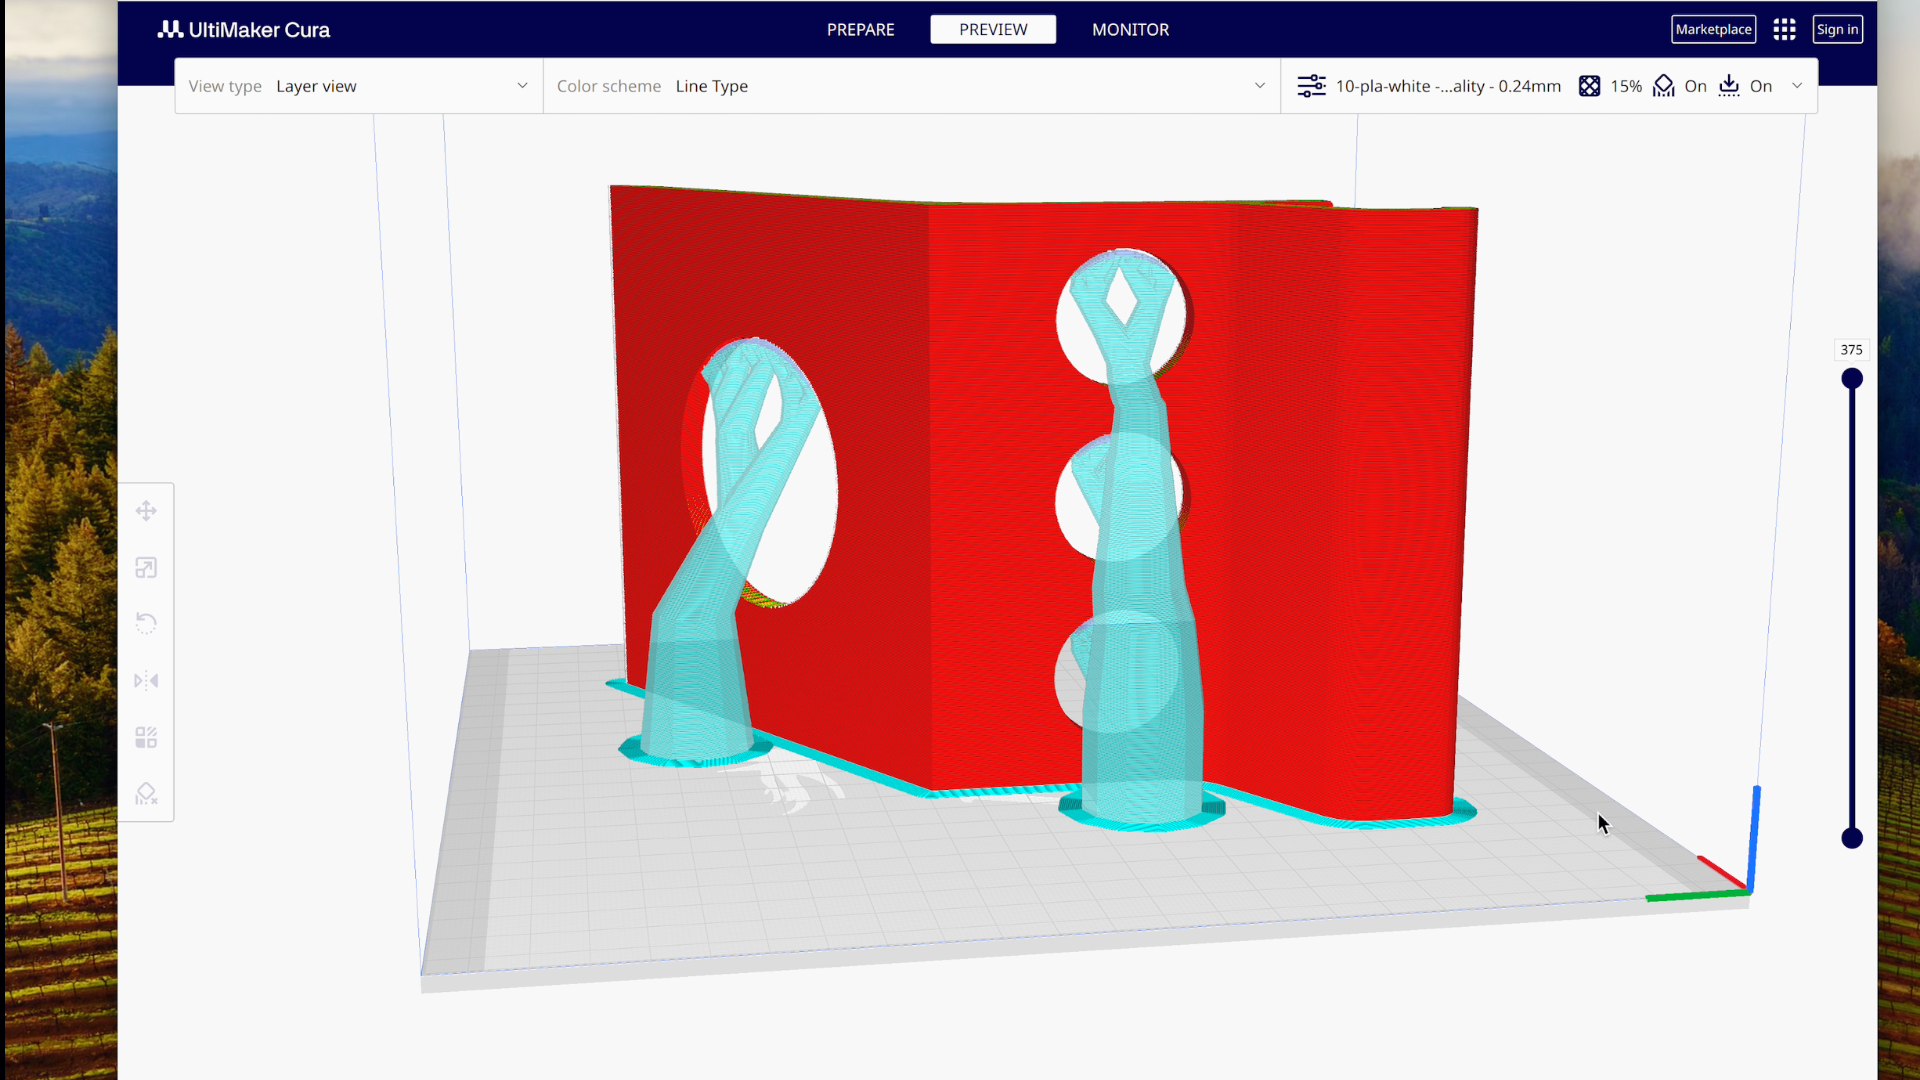
3D Printing Process
Once the design was finalised, it was time to bring it into the physical world using my trusty Ender 3 V2 3D printer.
Using PLA filament, I think it should be strong enough to hold my MacBook Pro 16 inch version.

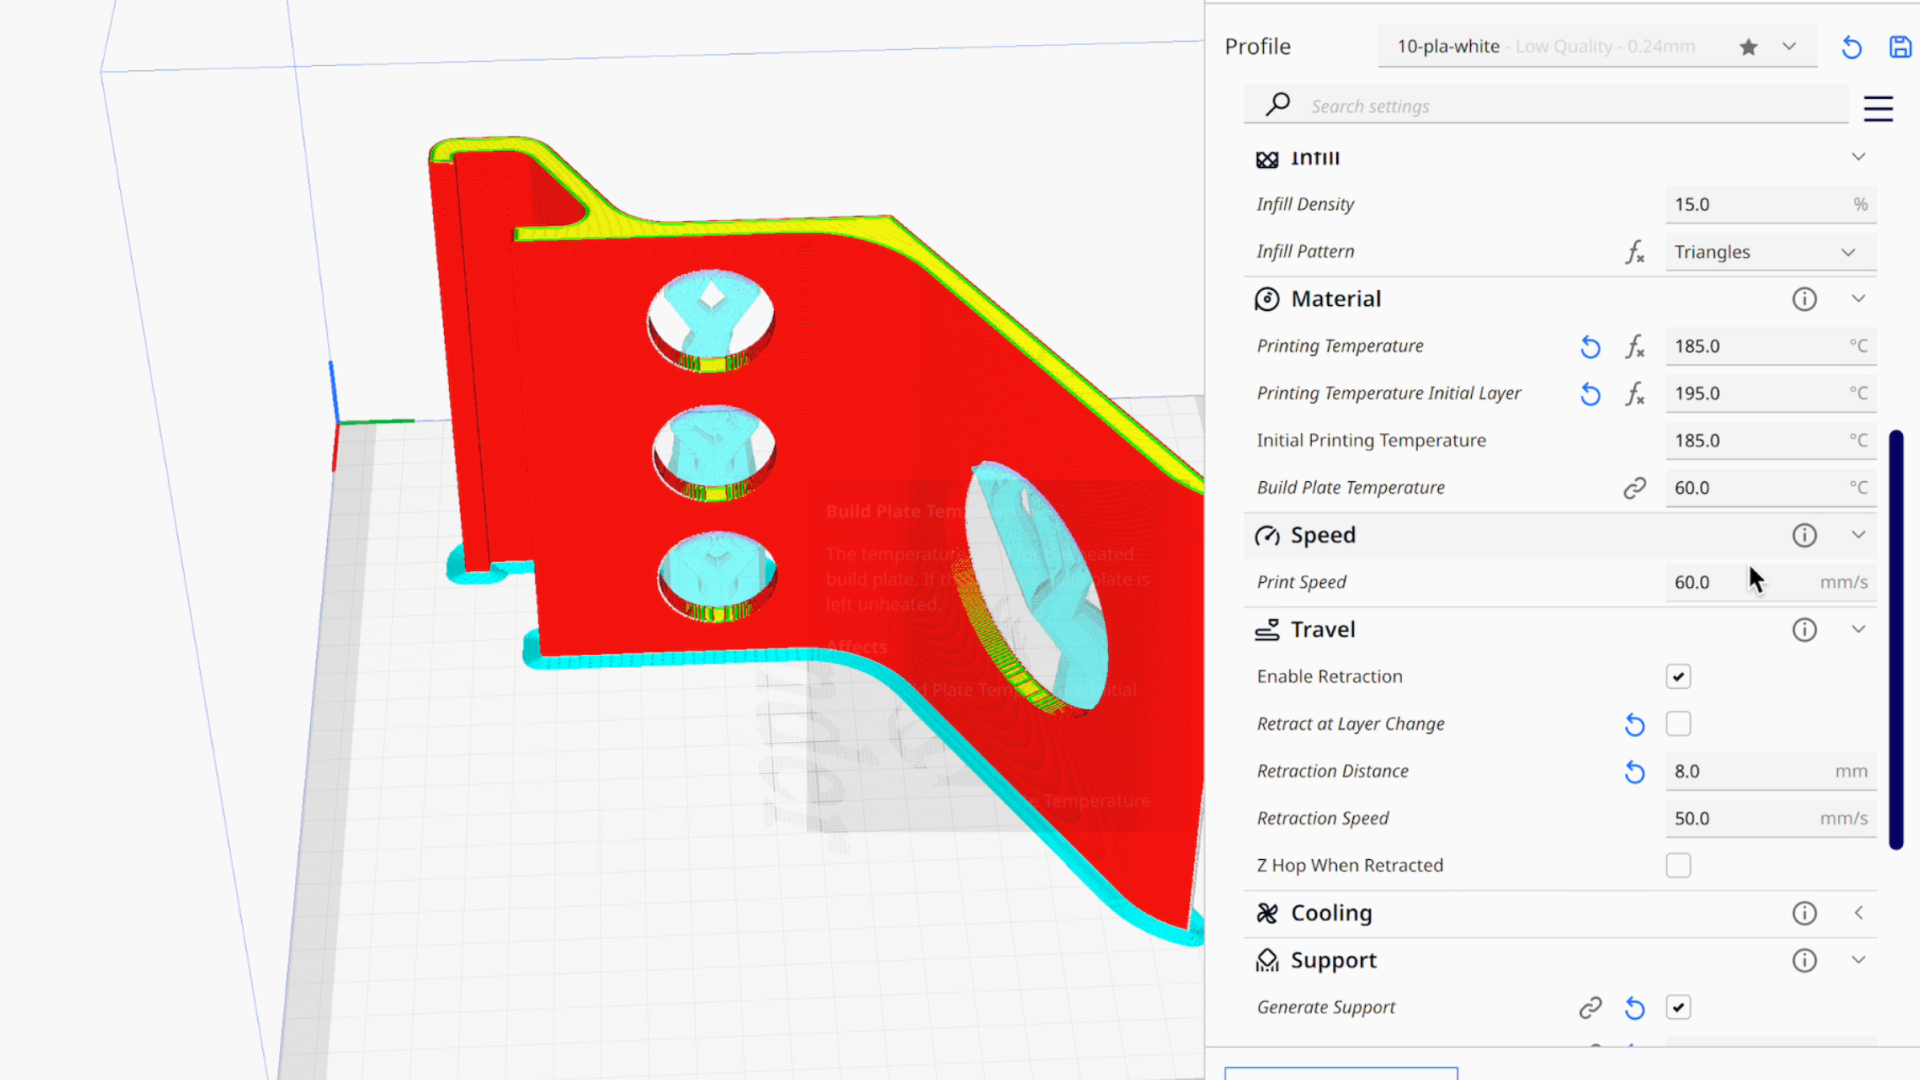
Some printer settings below:
- Materials: PLA filament
- Printer Settings: 0.4 mm nozzle, 0.24 mm layer height
- Infill: 15%-30%
- Support: Needed
- Brim: Good to have
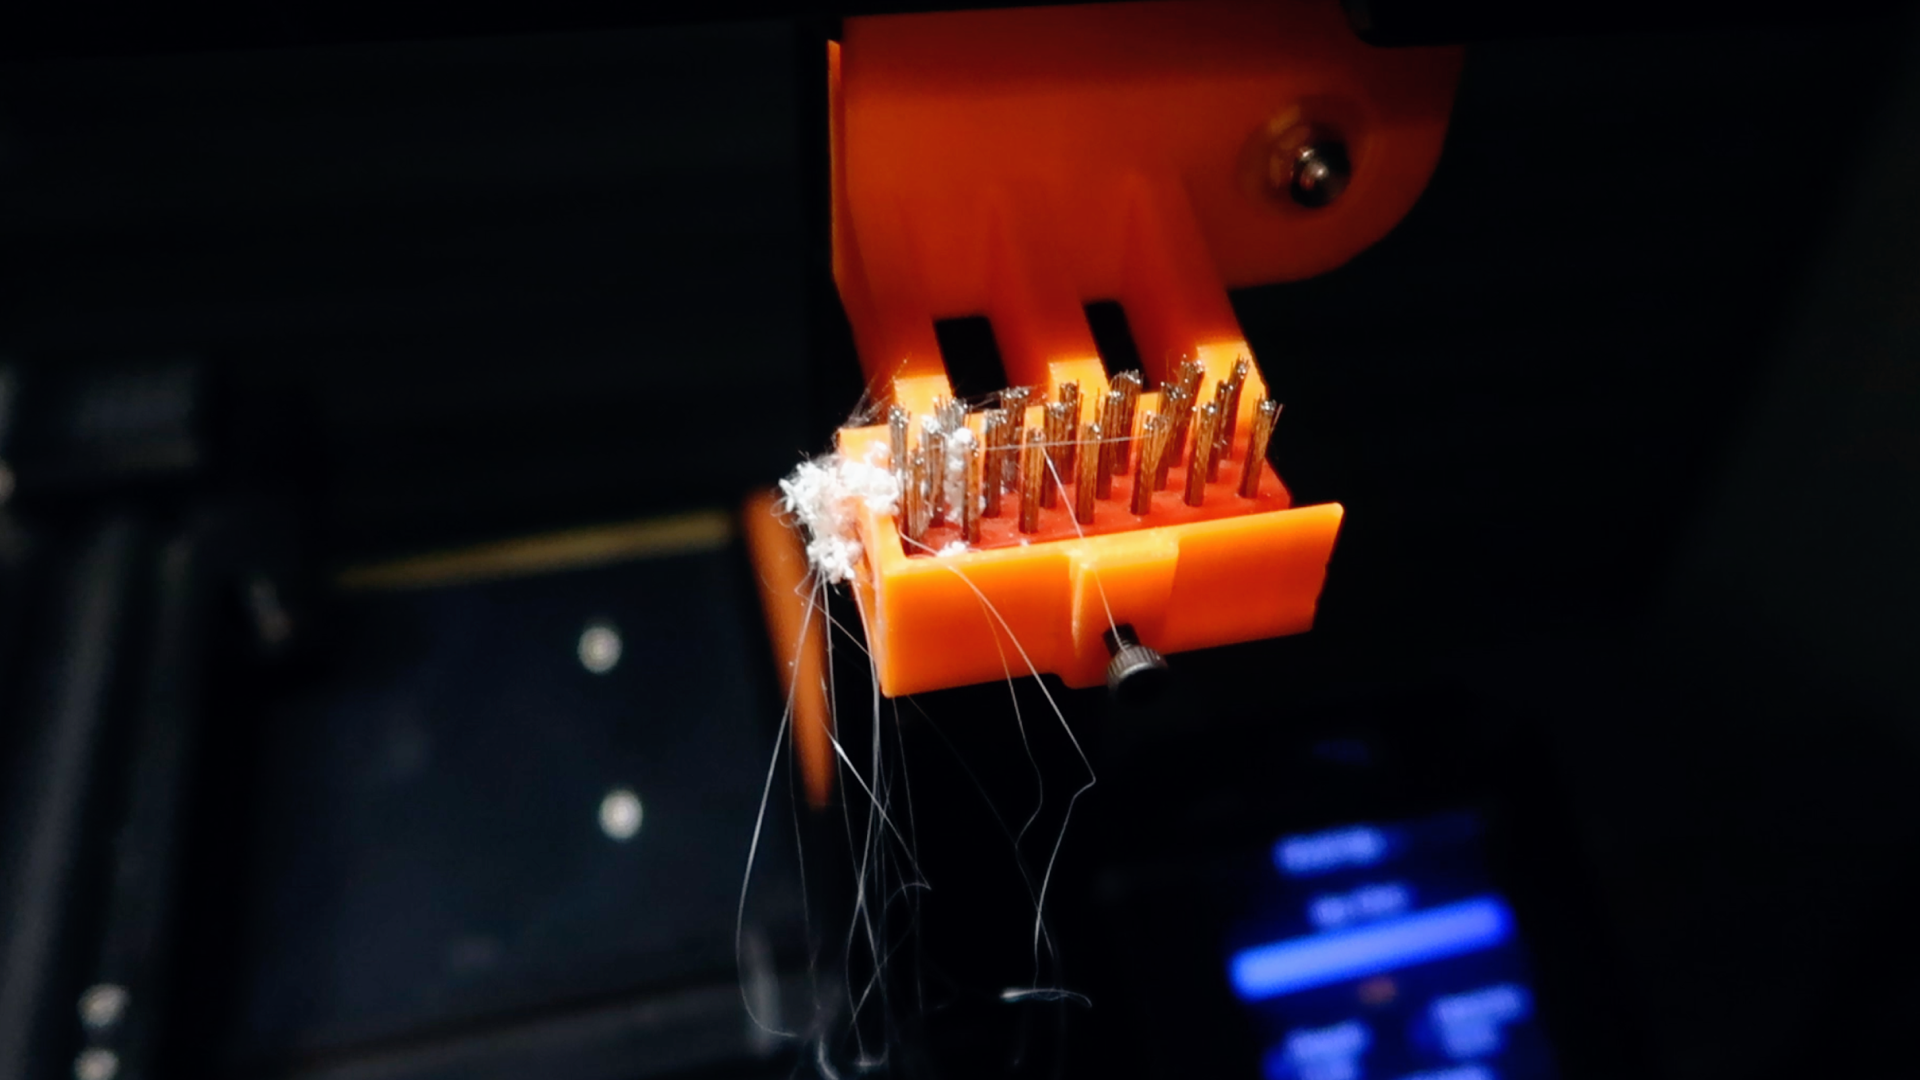
As a by product, I created a time-lapse of the printing process.
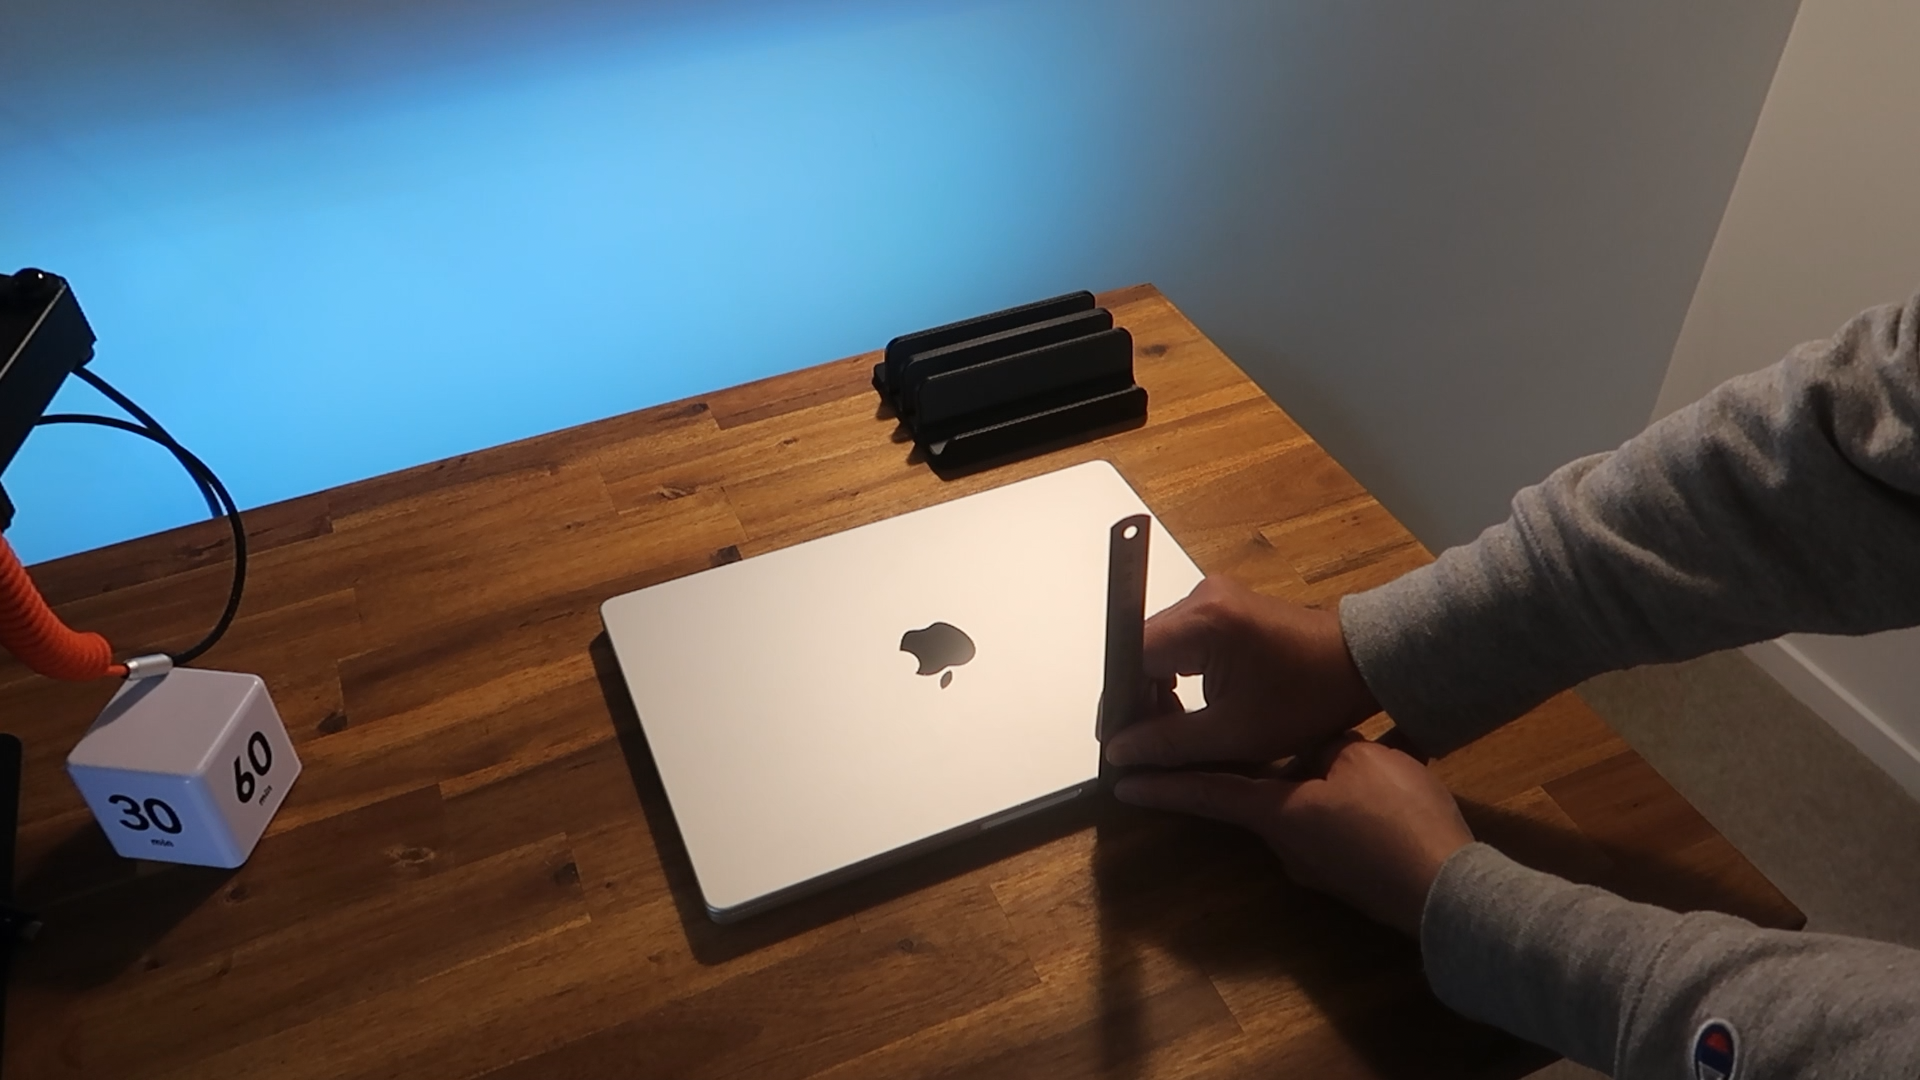
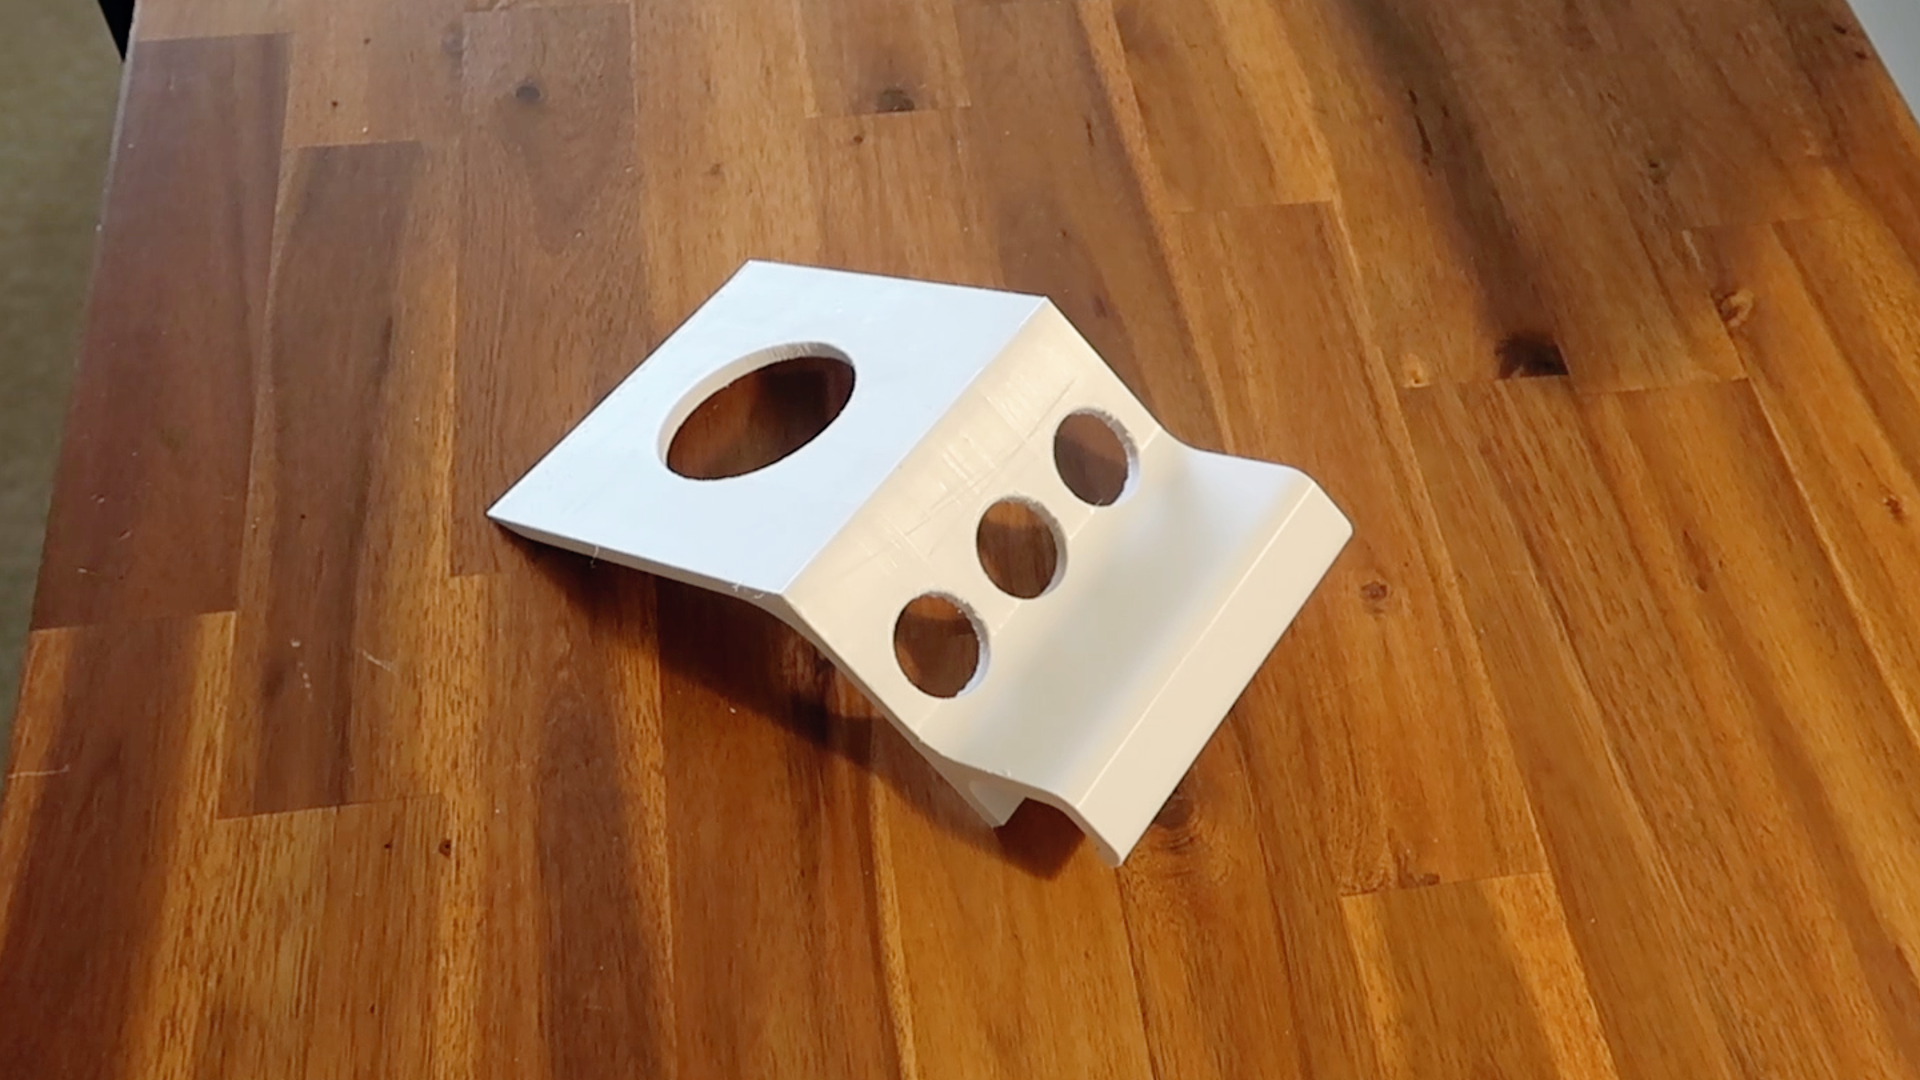
After printing, I cleaned up the supports from the printed part. It’s a satisfying process.
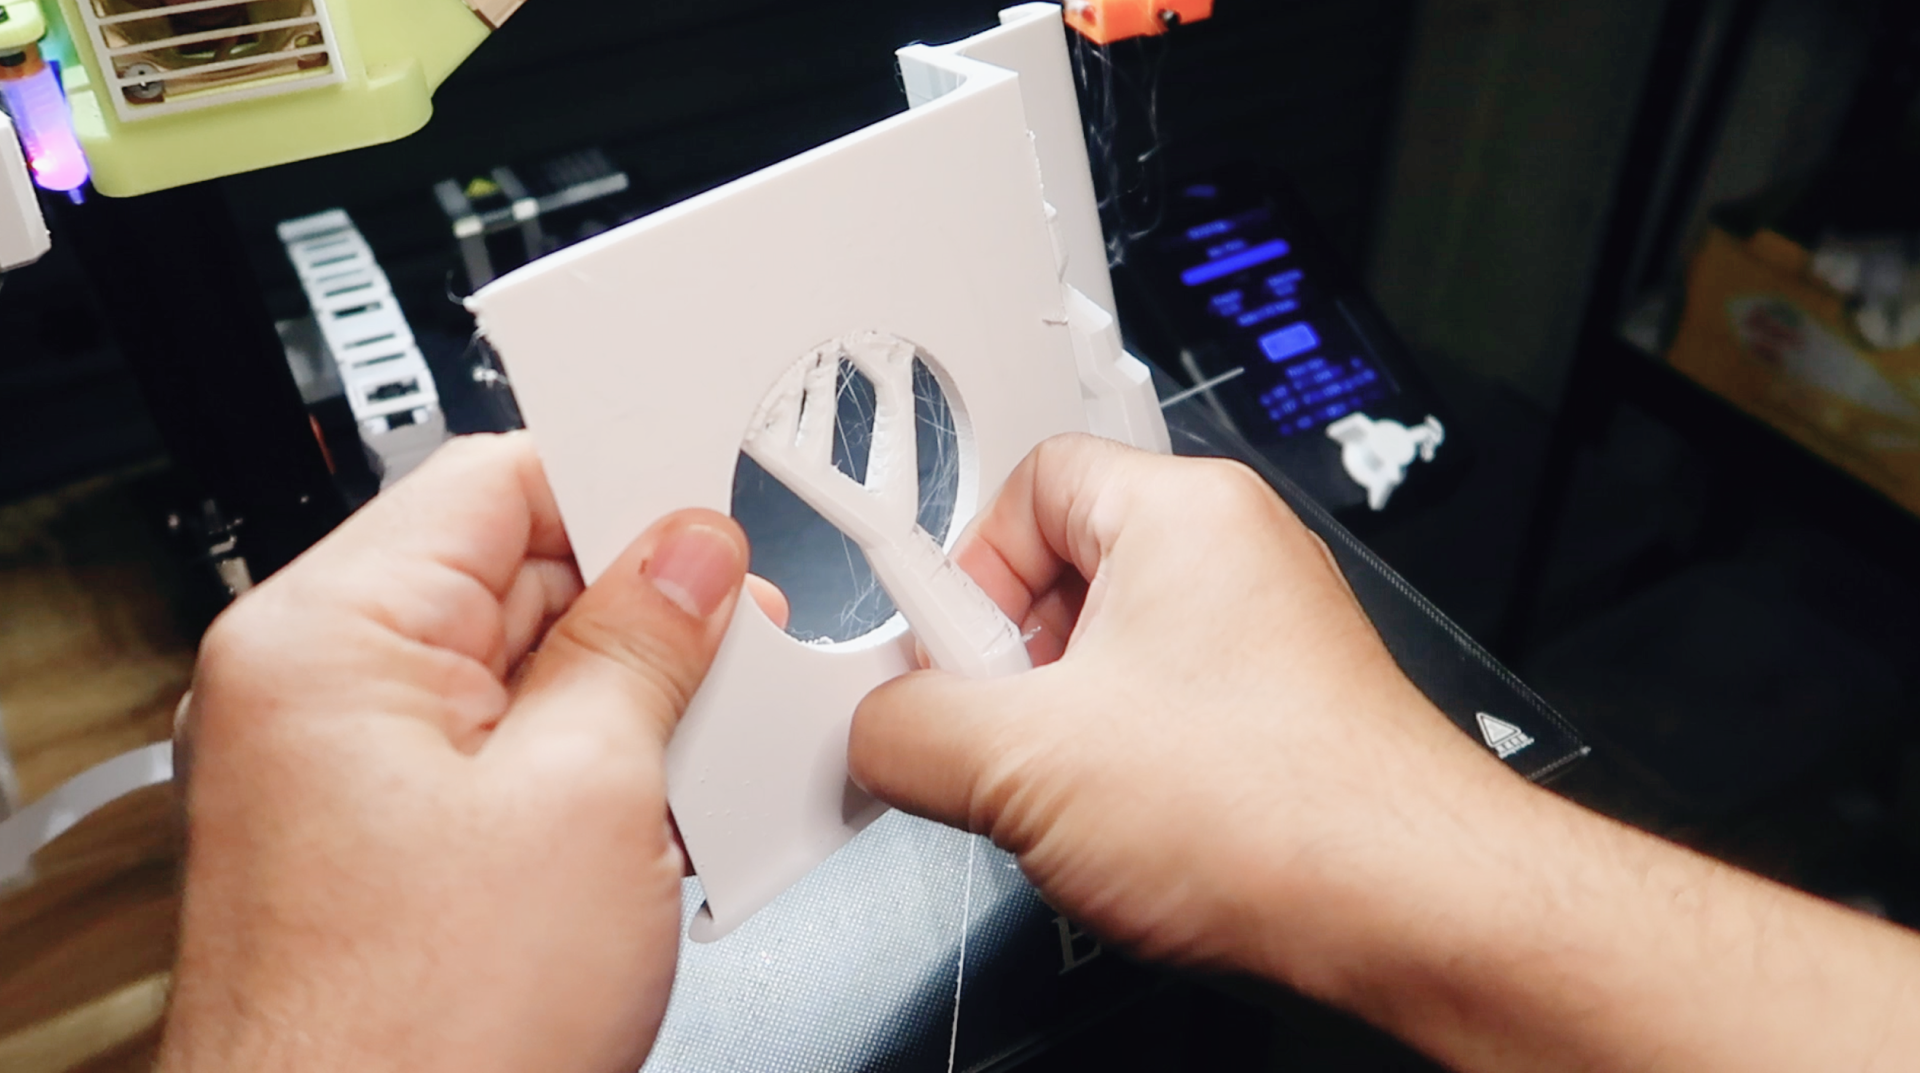
Clean up the surfaces.

My nozzle brush did a great job to help to reduce the stringing issue for the printing.
Testing and Usage
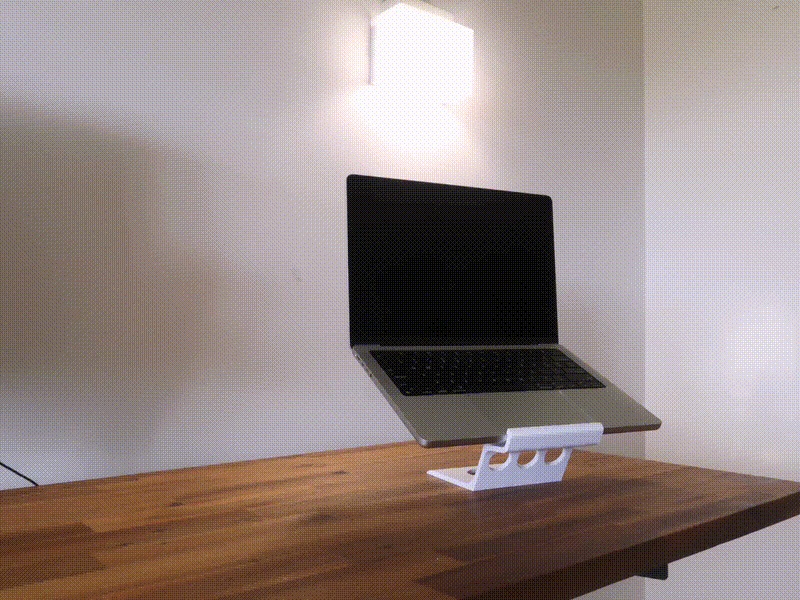
With the stand in hand, it was time to put it to the test.
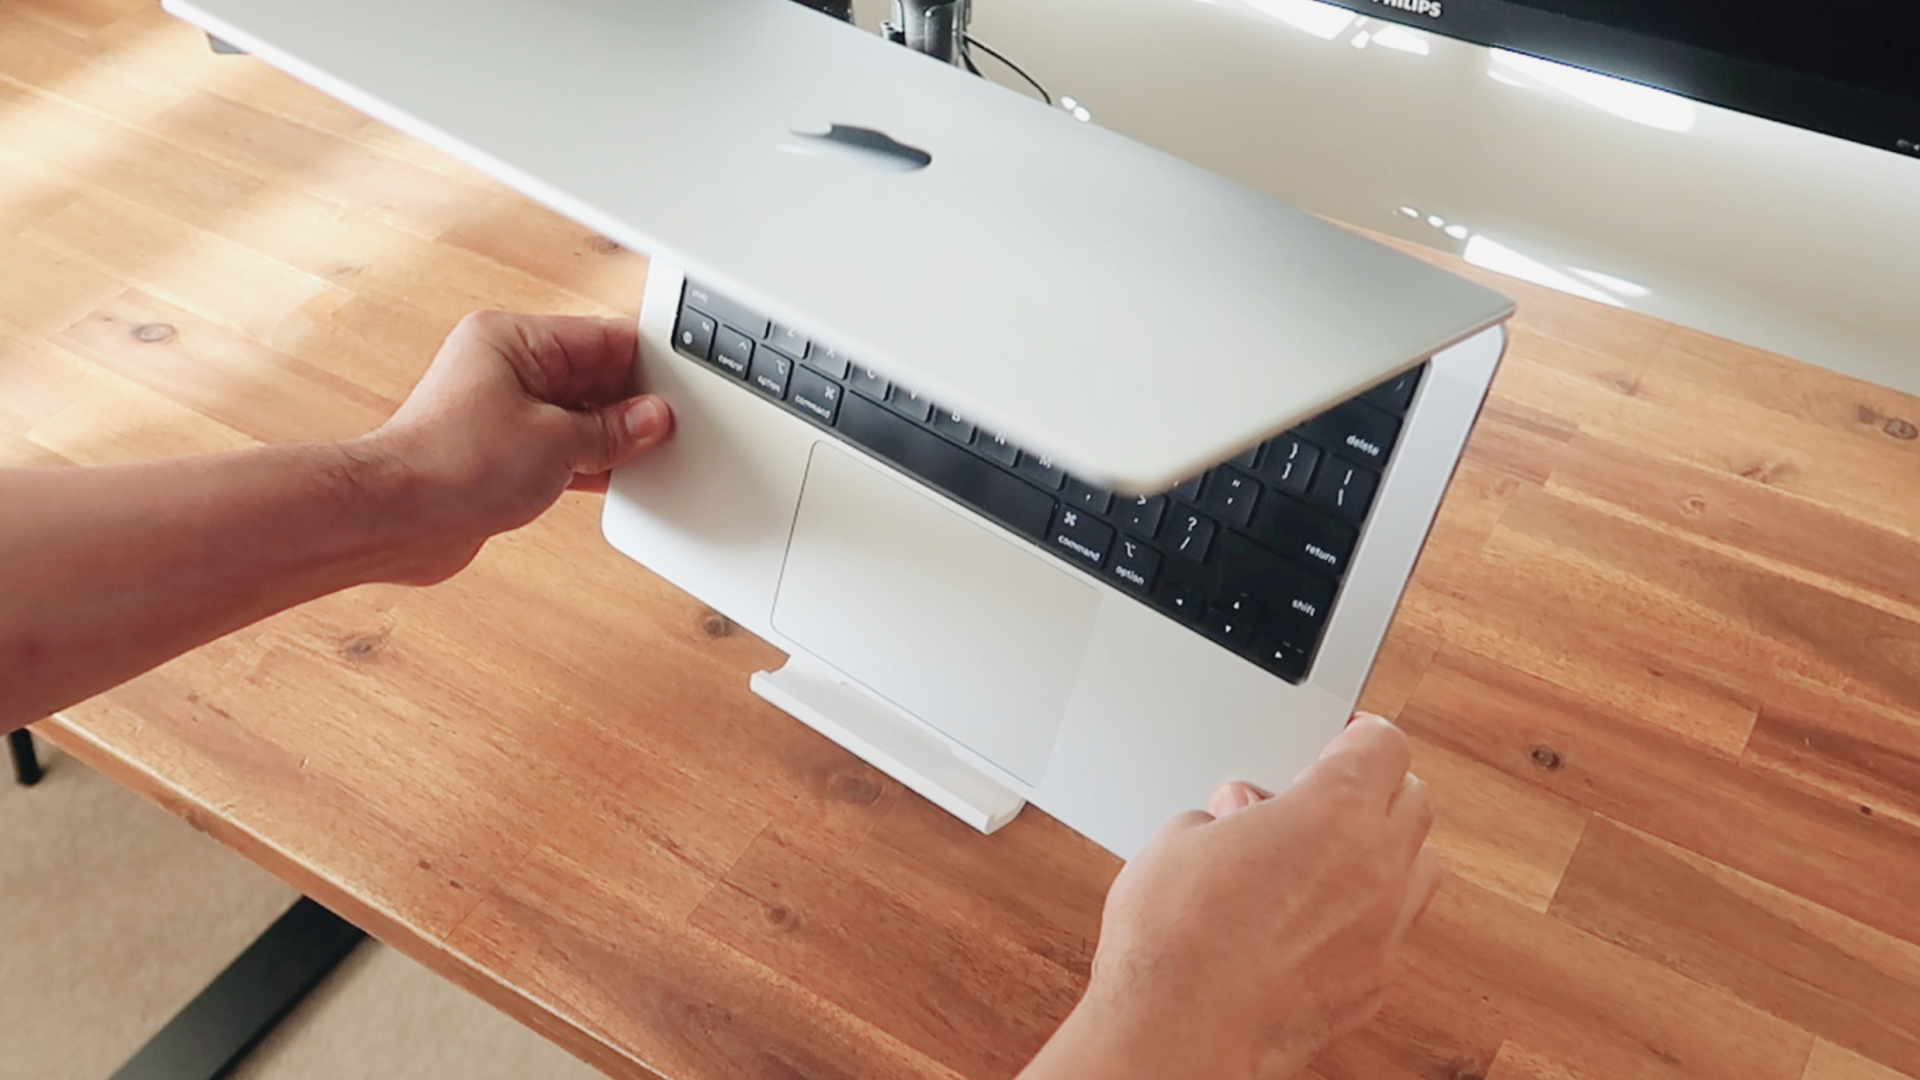
I checked the fit of my laptop, ensuring that the slot size and thickness were just right.
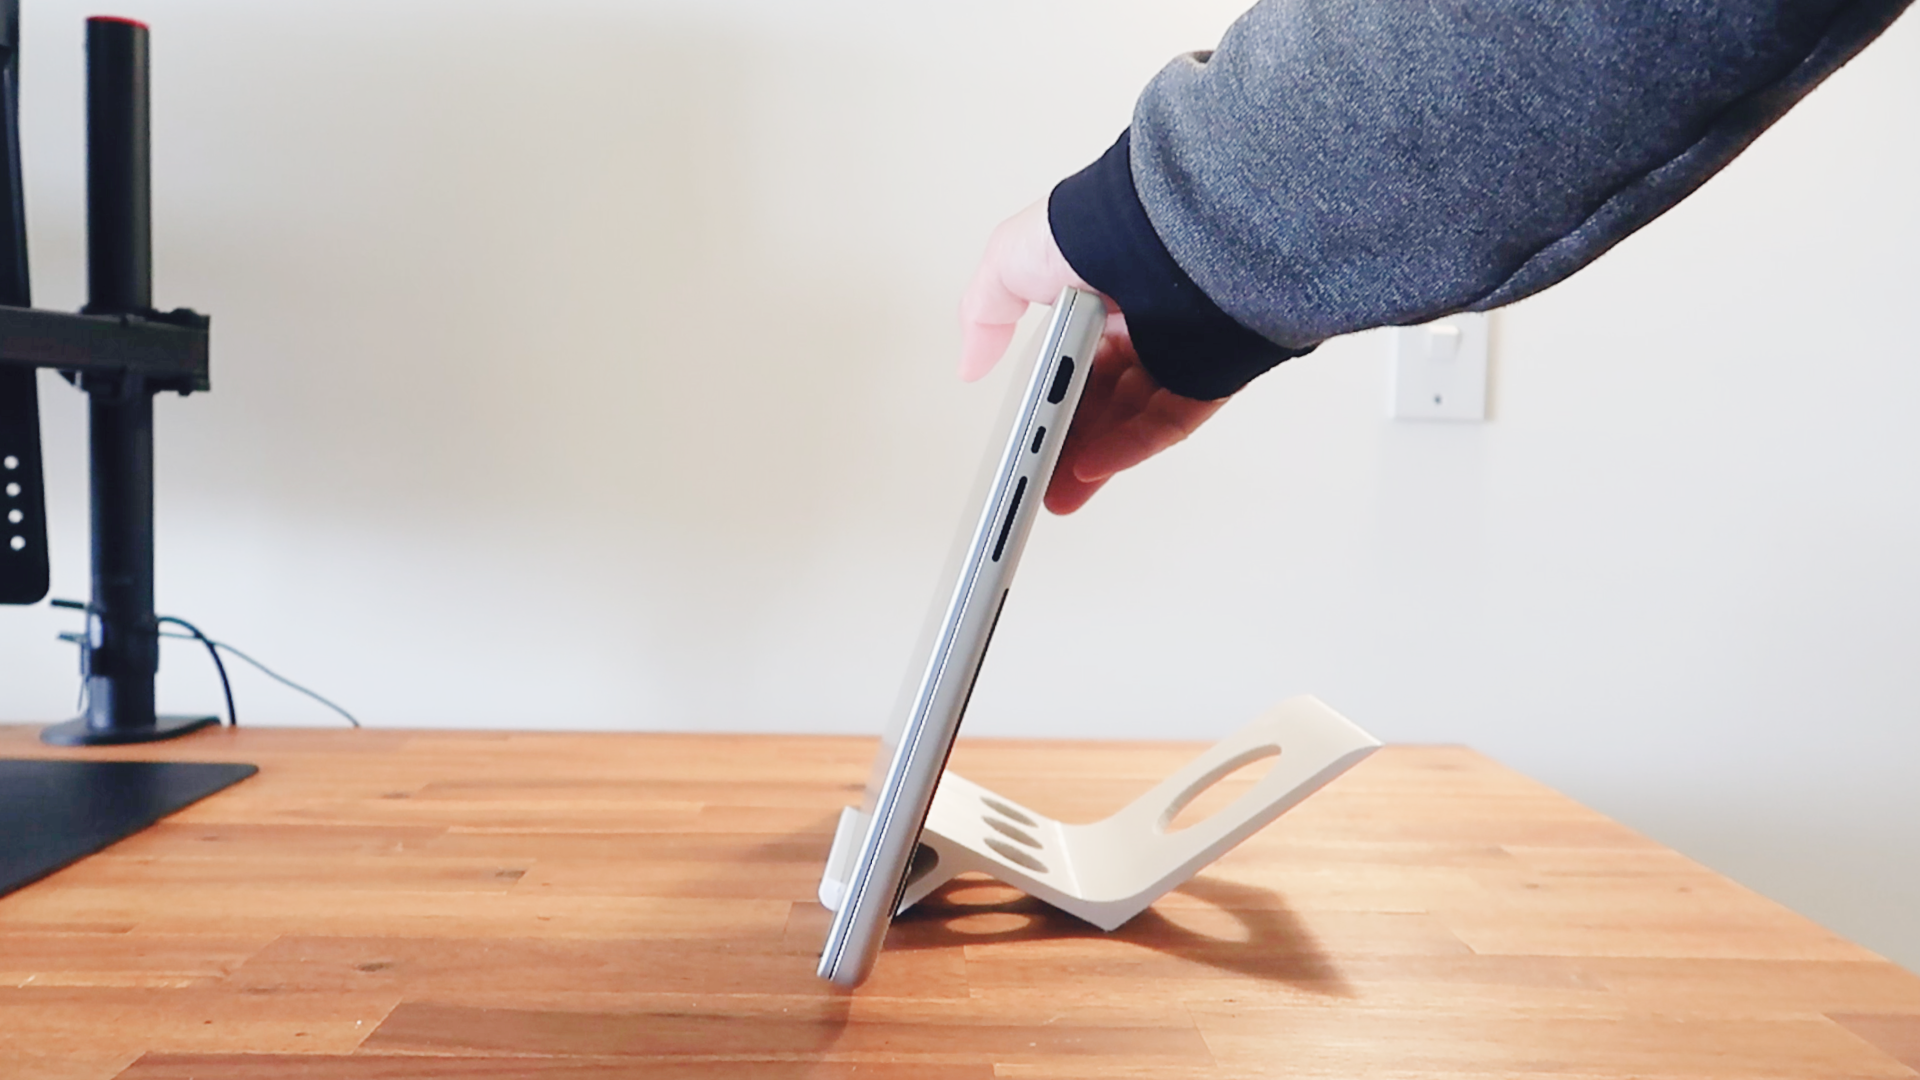
Additionally, I evaluated the stand's stability and balance from various angles.

Overall it’s pretty good!

Conclusion
While the stand's looking beautiful and ease of printing, I must admit that it could be not stable enough in certain situations.
However, with a few modifications, it's easy to customize the stand to suit individual preferences and requirements.
Download the STL file provided below if you want to print one for yourself, you can also download the step file to modify the shapes and dimensions of the stand to create your own version.
If you have any idea to improve the design please let me know.
Useful Links
-
Download stl files on Printable: Printable
-
Download stl files on Thingiverse: Thingiverse