Click to see the building process video on YouTube:
Why Build This?
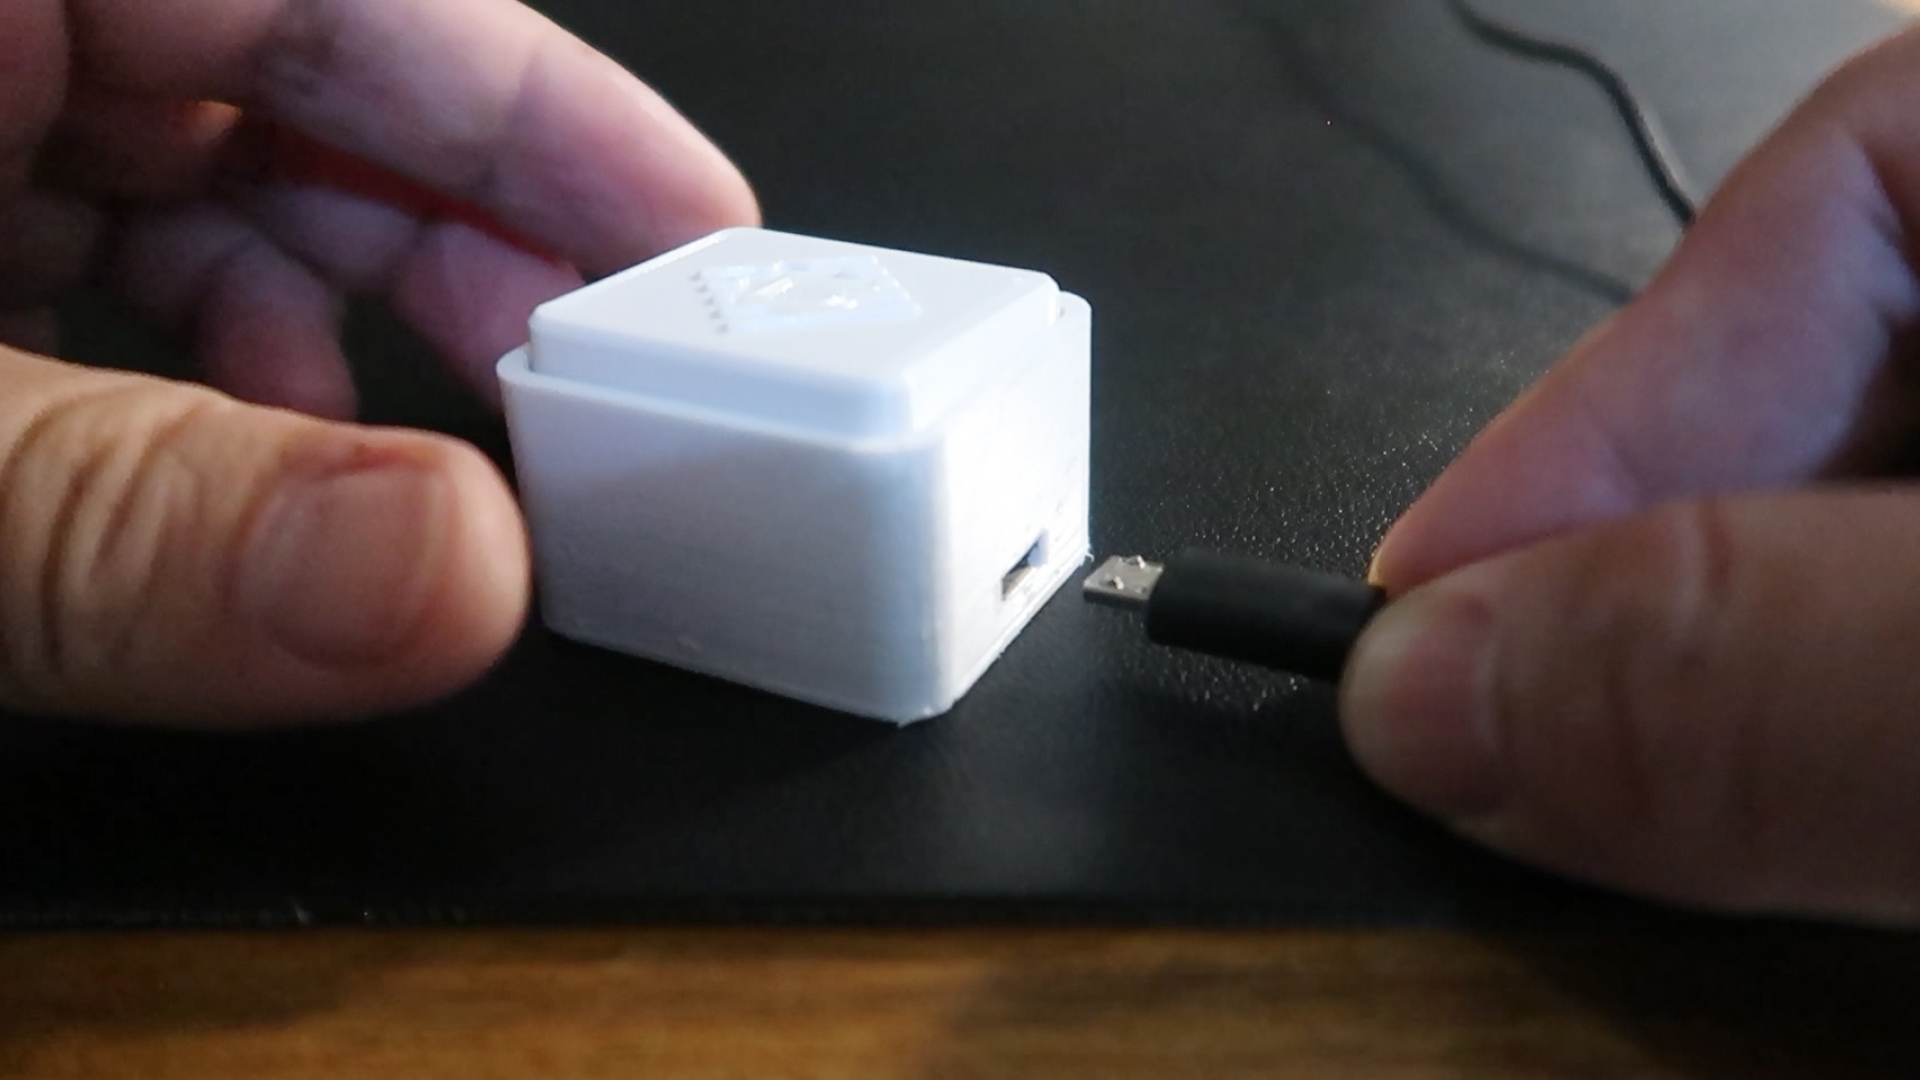
I use Raycast almost every day and wanted a dedicated one-key keyboard for it. With various micro controllers, key switches, and a 3D printer in hand, creating one seemed straightforward.
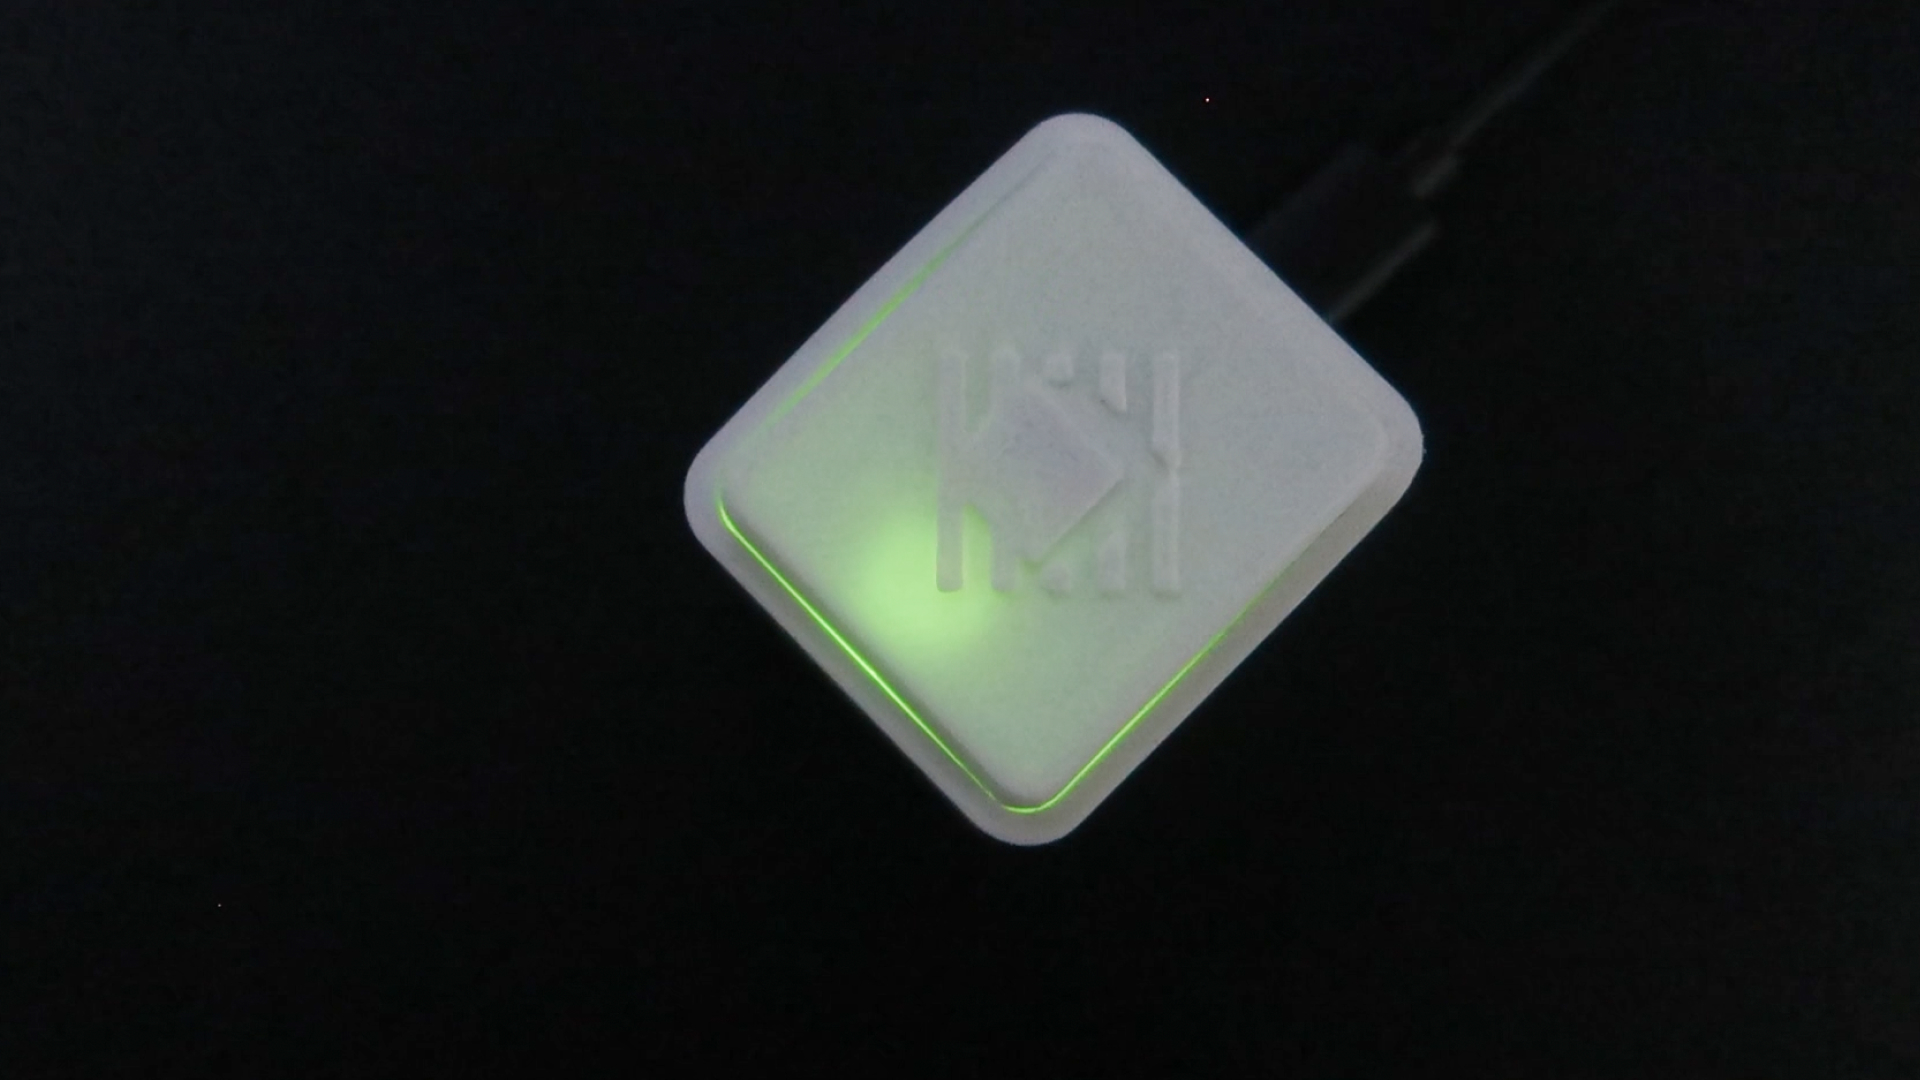
My goal was to design a keyboard that looks good and is simple. I will open source all the materials and stl files below in case you want to make one too.
Materials
For this project, you will need:
Components:
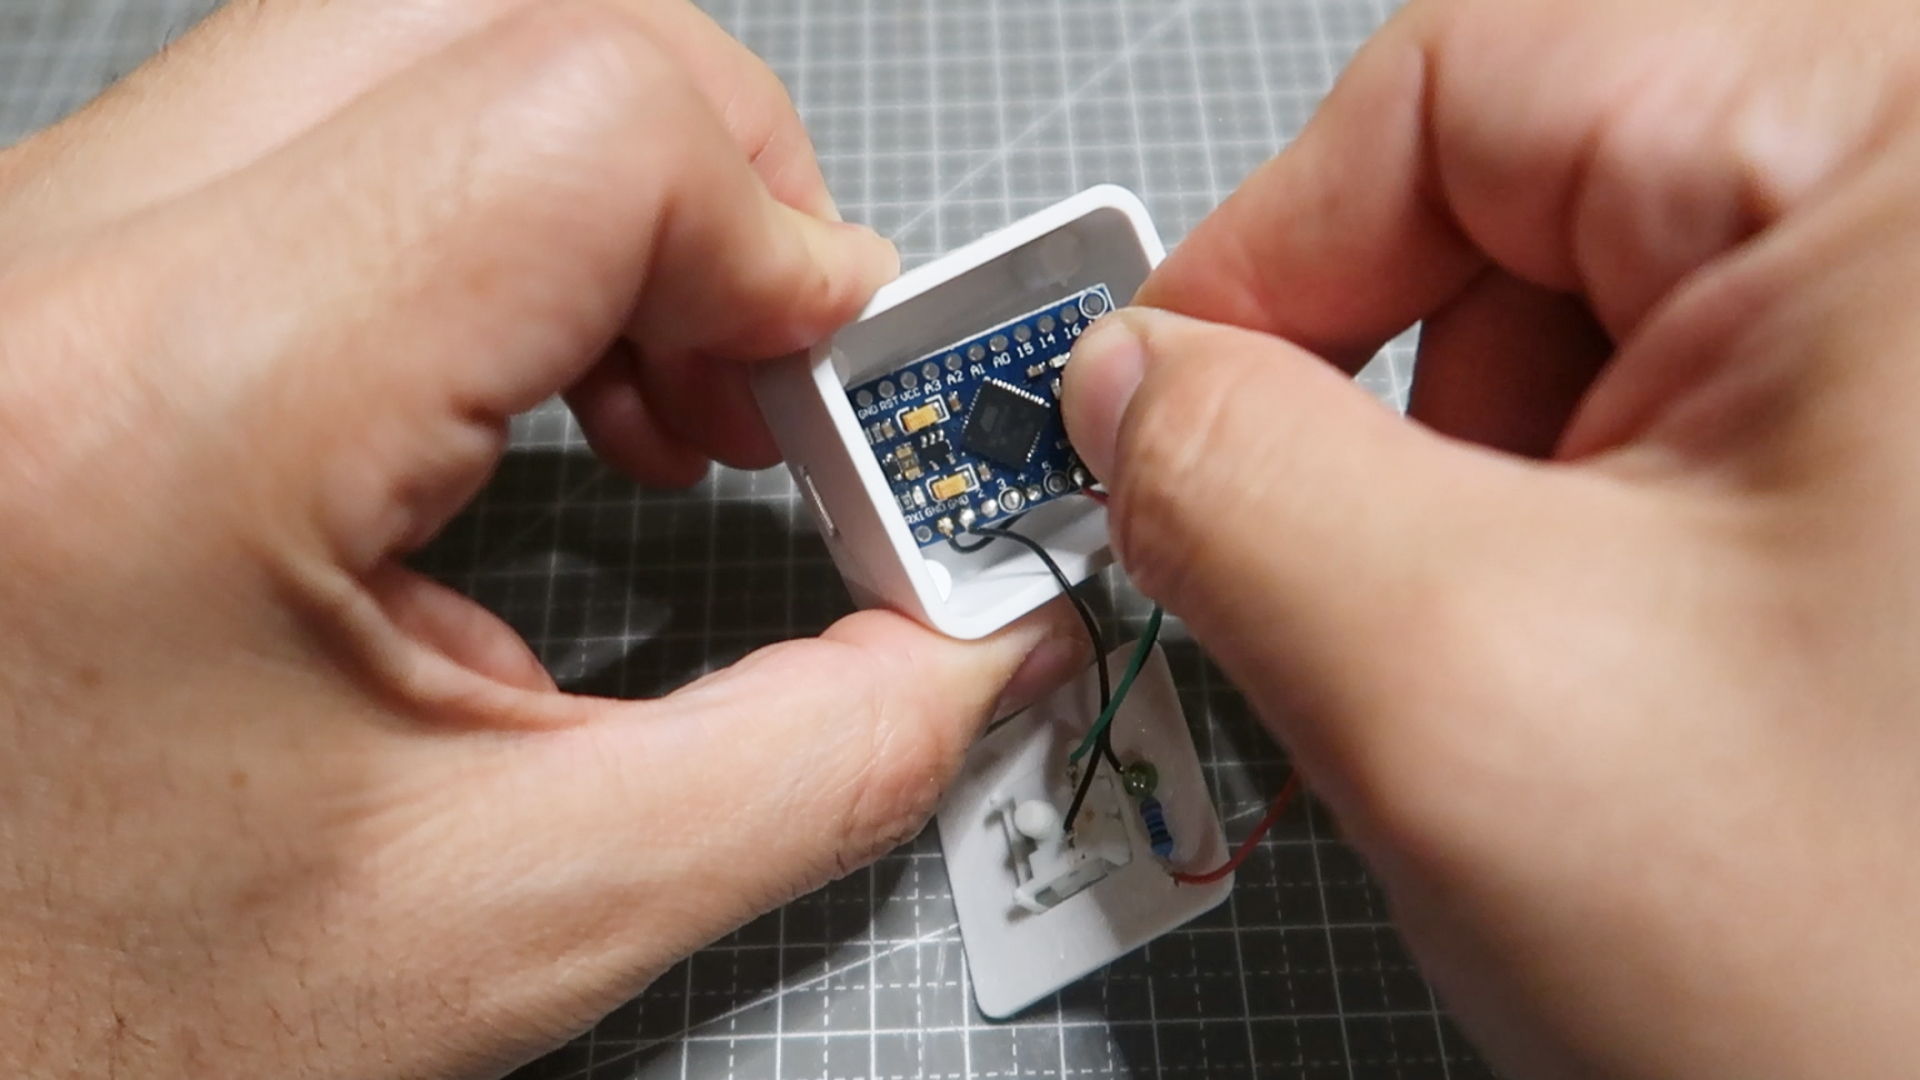
- 1 Arduino Pro Micro
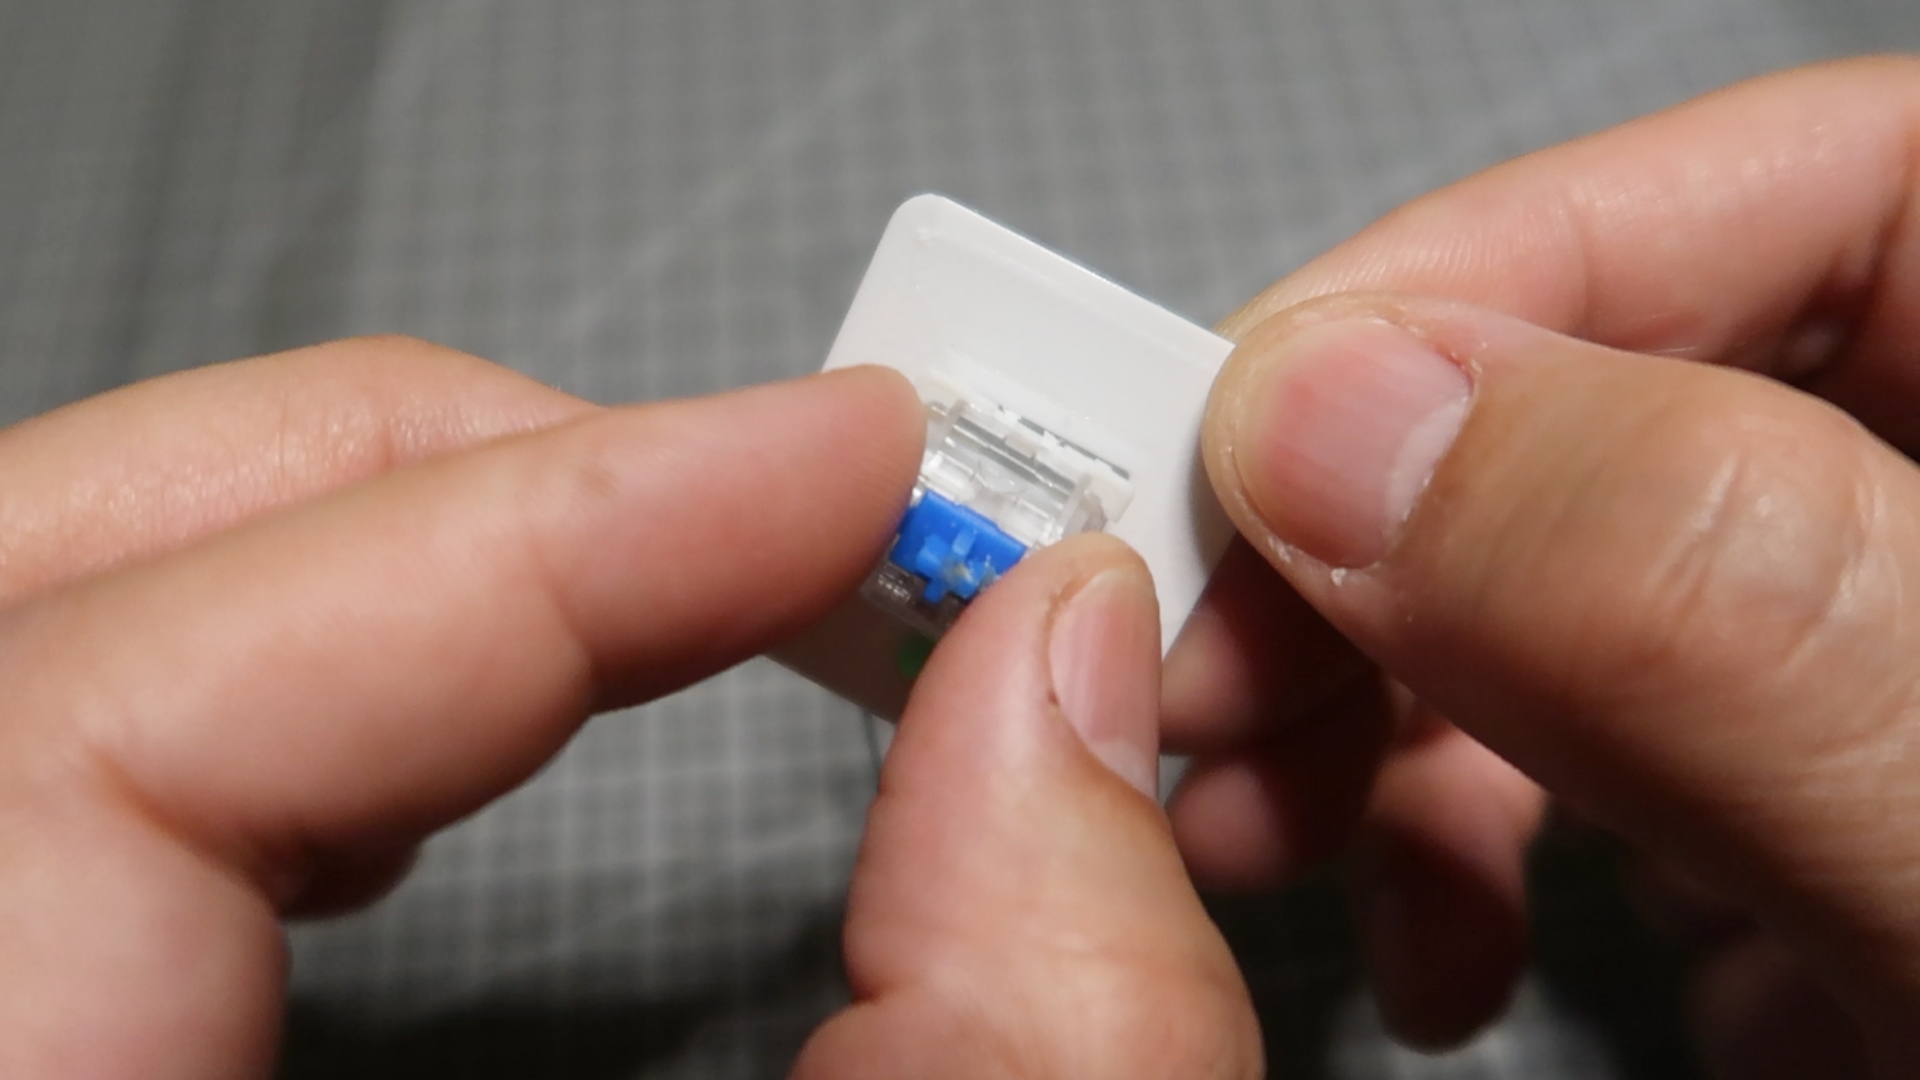
- 1 Mechanical keyboard key switch (blue or any other type)
- Wires
- 1 LED
- 1 200 Ohm Resistor
- USB A to Micro USB cable
Tools Required:
- 3D Printer
- Soldering iron
Design Process
I used Fusion 360, which is free for personal hobby projects, to design the 3D model. It took several iterations to find the right shape and size for comfort and to fit all components.
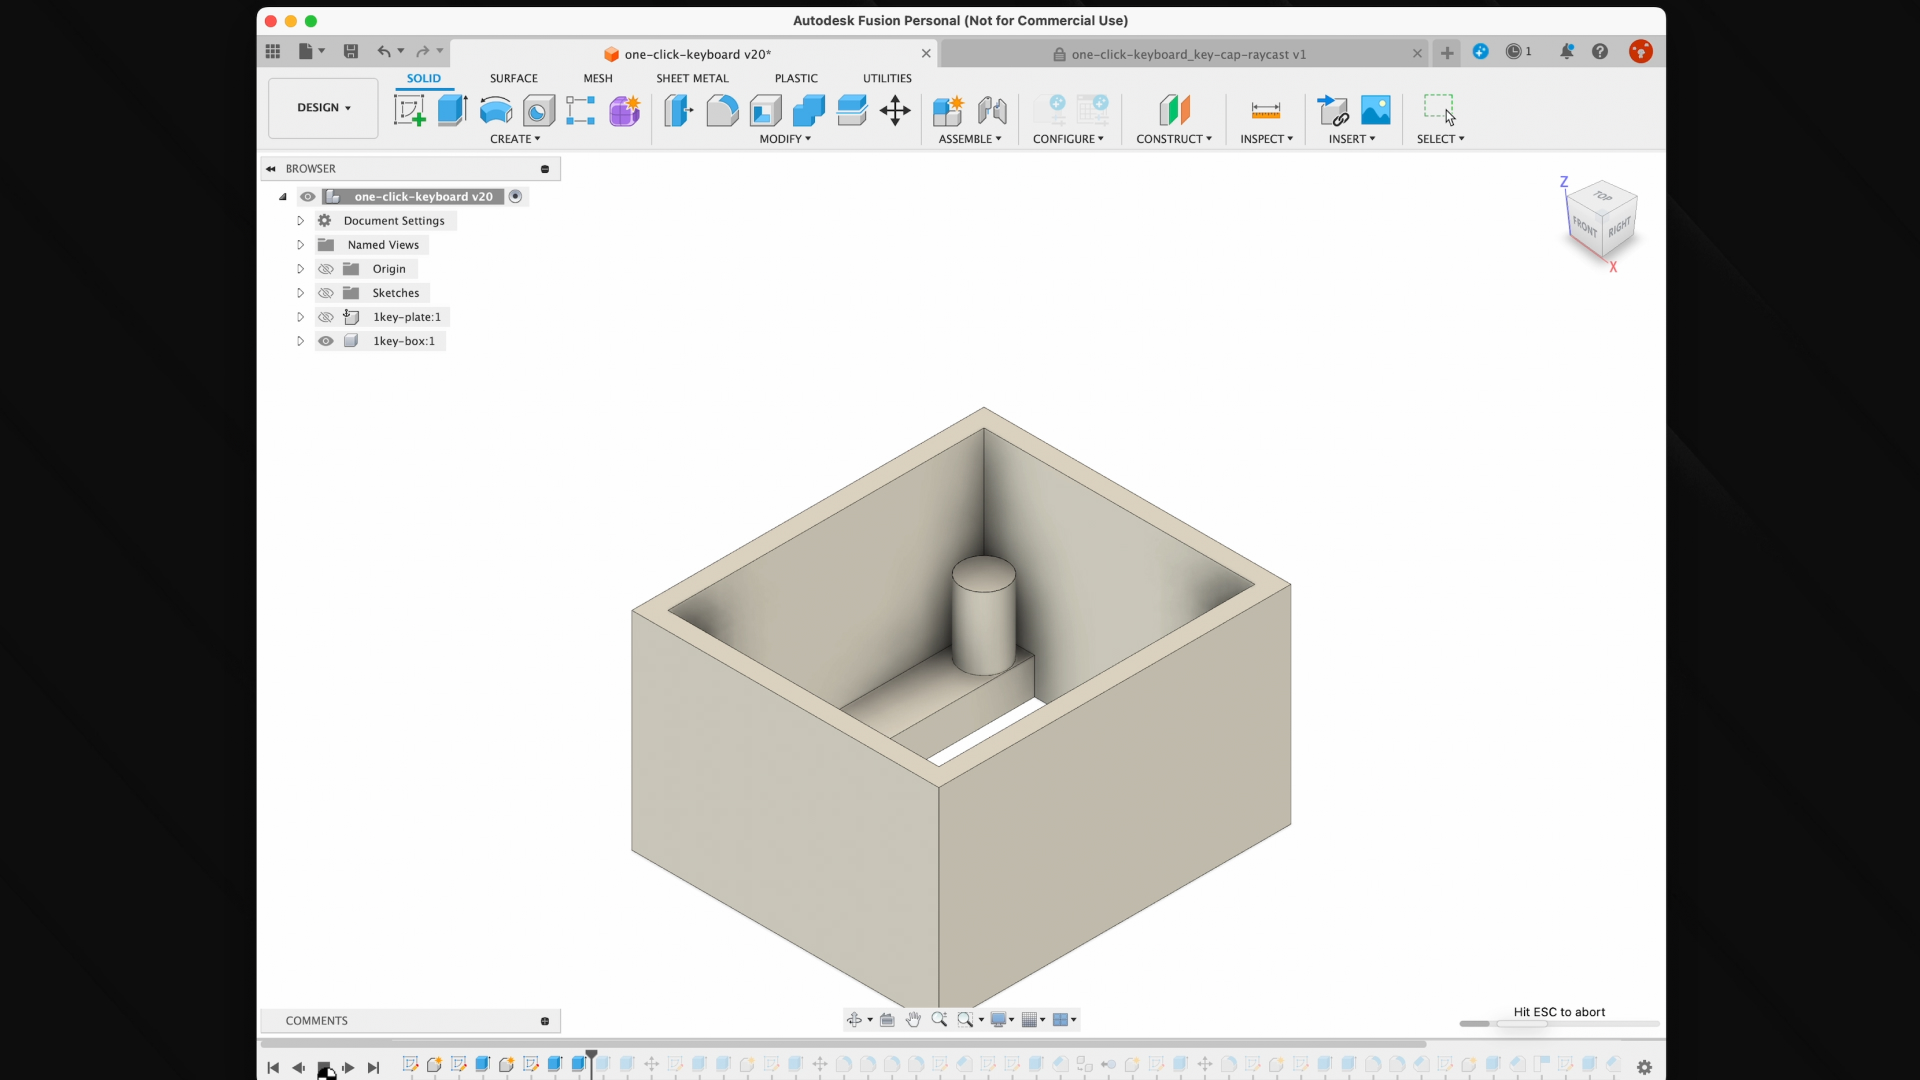
To convert SVG files into 3D models, I used the Svgl extension in Raycast and cloudconvert to convert SVG files to DXF format for easy extrusion into 3D models.

Printing
After designing, I printed the components. Once printed, I removed the supports and sanded the surfaces to smooth them out.


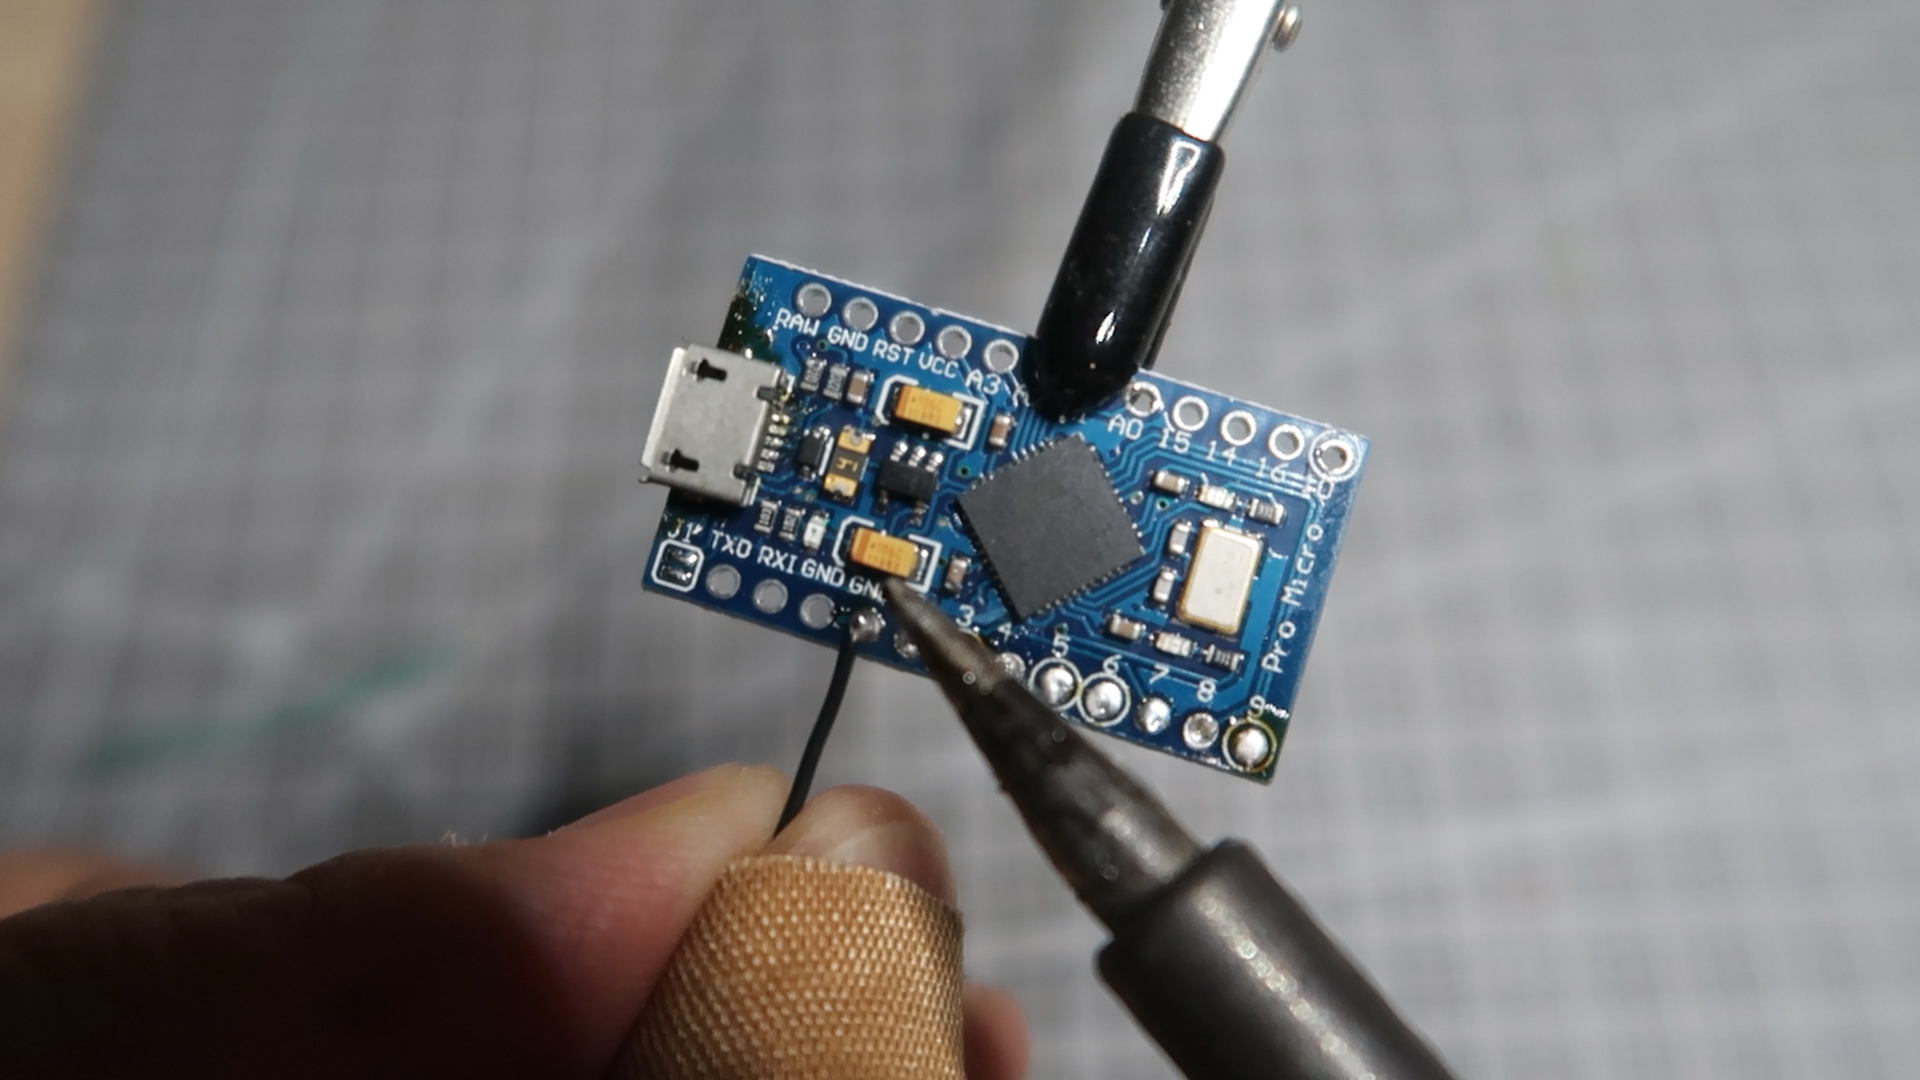
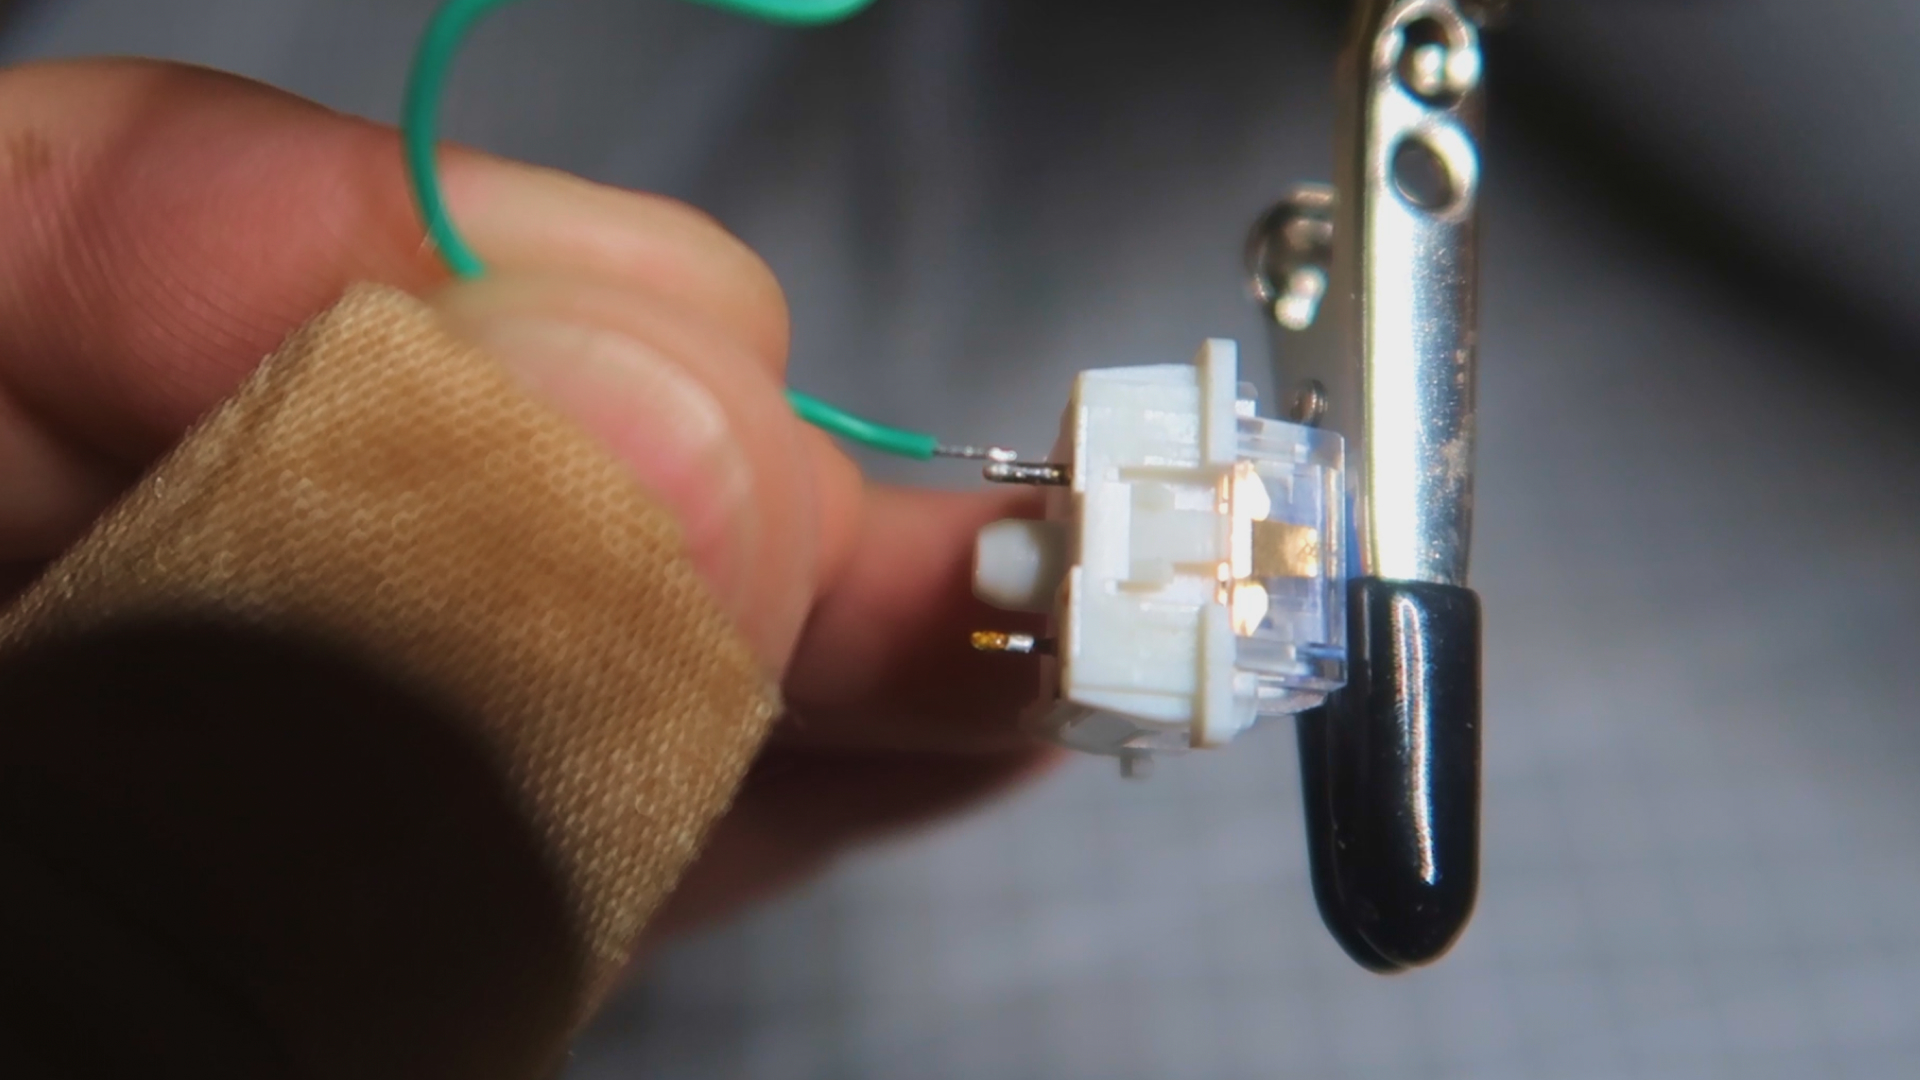
Soldering and Assembling
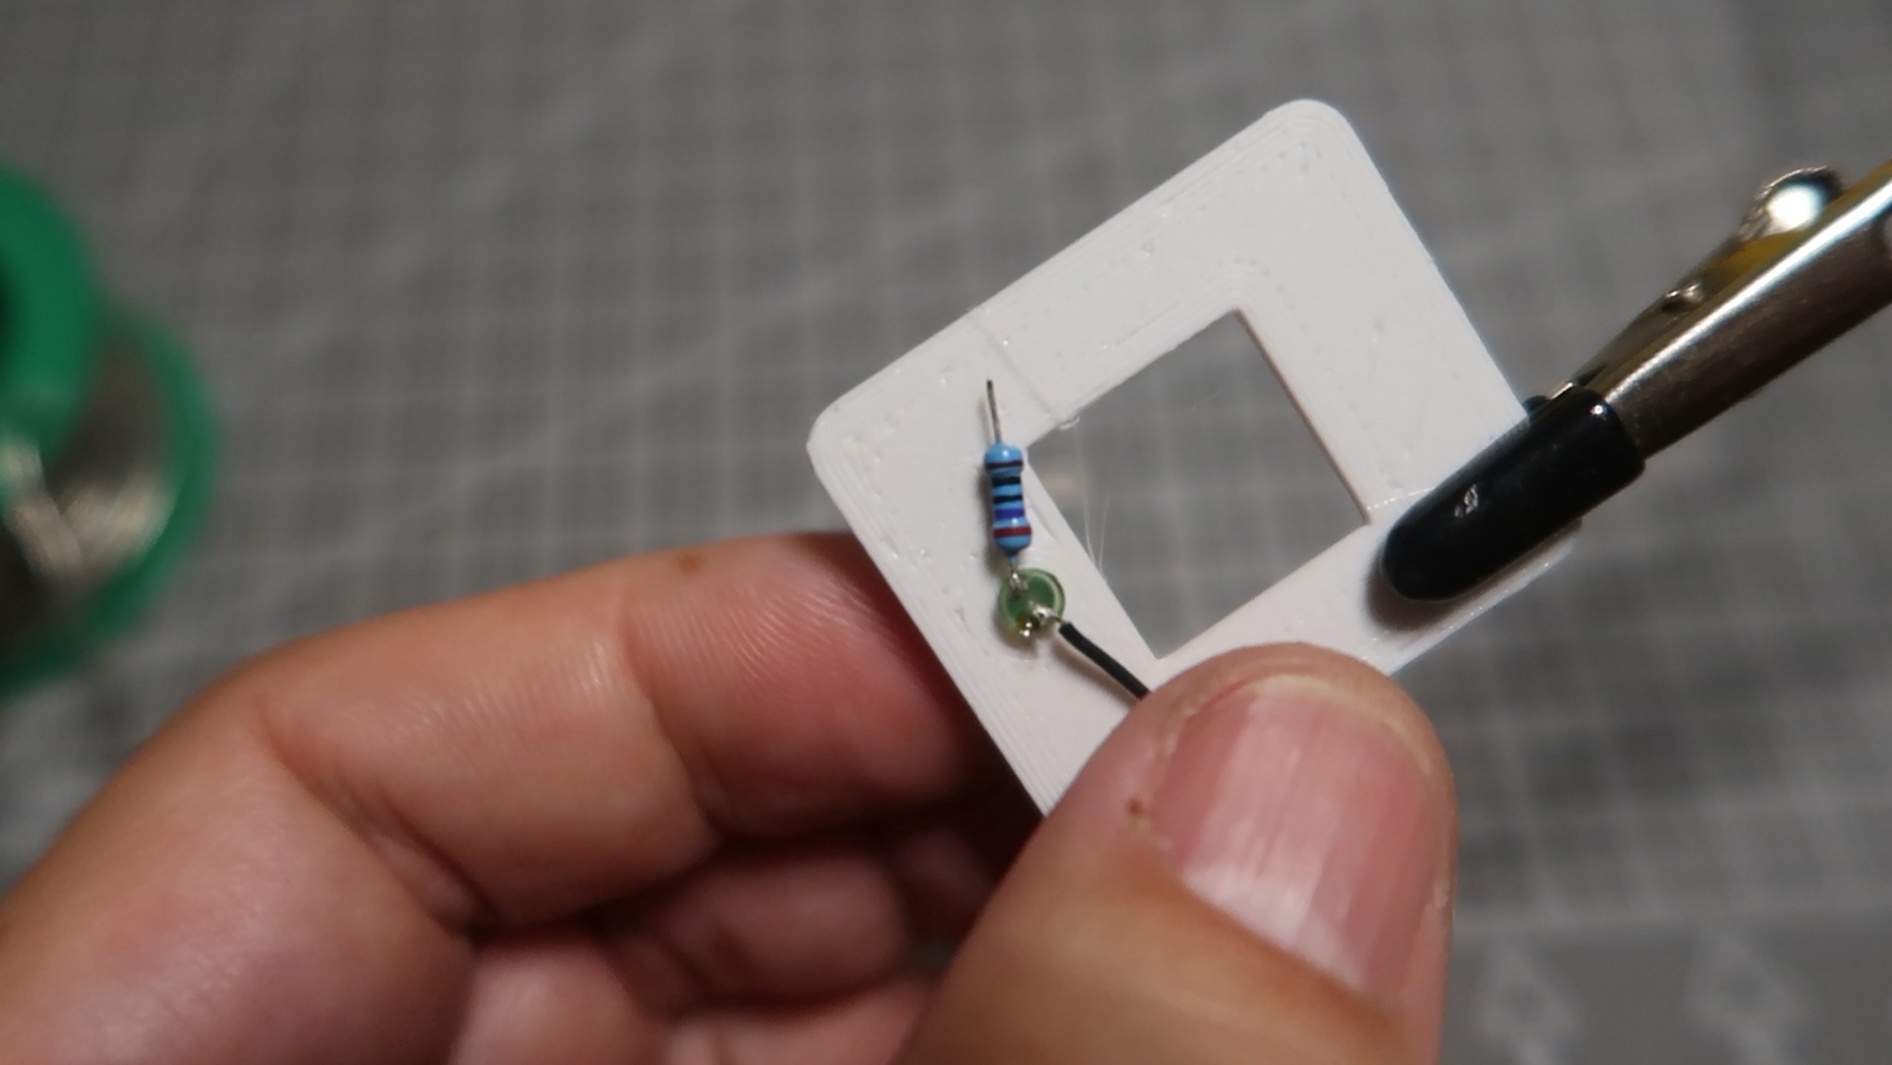
Next, I started working on the hardware wiring. This project only requires few soldering joints.


Coding
Open the Arduino IDE, create a new project, and copy and paste the following code:
#include "Keyboard.h"

// ---------------------------------
// Key definitions
#define BUTTON_KEY8 KEY_F19 // Key code

// Pin definitions
#define BUTTON_PIN8 9 // For the keyswitch
#define LED_PIN 6  // For LED light

// Fade control parameters
#define FADE_DURATION 2000  // Total fade duration in milliseconds
#define FADE_STEPS 255      // Number of fade steps (8-bit PWM)
#define INTERVAL (FADE_DURATION / FADE_STEPS) // Interval for each fade step
// ---------------------------------

// Button helper class for handling press/release and debouncing
class button {
  public:
    const char key;
    const uint8_t pin;

    button(uint8_t k, uint8_t p) : key(k), pin(p) {}

    void press(boolean state) {
      if (state == pressed || (millis() - lastPressed <= debounceTime)) {
        return; // Nothing to see here, folks
      }

      lastPressed = millis();
      state ? Keyboard.press(key) : Keyboard.release(key);
      pressed = state;
    }

    void update() {
      press(!digitalRead(pin));
    }

  private:
    const unsigned long debounceTime = 30;
    unsigned long lastPressed = 0;
    boolean pressed = 0;
};

// Button objects, organized in array
button buttons[] = {
  {BUTTON_KEY8, BUTTON_PIN8},
};

const uint8_t NumButtons = sizeof(buttons) / sizeof(button);

// LED control variables
int brightness = 255;        // Initialize brightness to full (255)
bool fading = false;         // Variable to track if fading is in progress
unsigned long previousMillis = 0;

void setup() {
  // Safety check. Ground pin #1 (RX) to cancel keyboard inputs.
  pinMode(1, INPUT_PULLUP);
  if (!digitalRead(1)) {
    failsafe();
  }

  // Set LED pin as output and turn LED off
  pinMode(LED_PIN, OUTPUT);
  analogWrite(LED_PIN, 0); // Initialize the LED to off

  // Initialize button pins
  for (int i = 0; i < NumButtons; i++) {
    pinMode(buttons[i].pin, INPUT_PULLUP);
  }
}

void loop() {
  for (int i = 0; i < NumButtons; i++) {
    buttons[i].update();
    // Check if the button is pressed
    if (digitalRead(buttons[i].pin) == LOW) {
      // Turn on the LED and start fading
      brightness = 255; // Reset brightness to full
      analogWrite(LED_PIN, brightness); // Turn the LED on
      fading = true;
      previousMillis = millis(); // Initialize the timer for fading
    }
  }

  // Non-blocking fade logic
  if (fading) {
    unsigned long currentMillis = millis();
    if (currentMillis - previousMillis >= INTERVAL) {
      previousMillis = currentMillis;
      if (brightness > 0) {
        brightness--;
        analogWrite(LED_PIN, brightness);
      } else {
        fading = false;
        analogWrite(LED_PIN, 0); // Ensure LED is off
      }
    }
  }
}

void failsafe() {
  for (;;) {} // Just going to hang out here for awhile :D
}


The keyboard should be functional now, but to add a fun element, let’s include a breathing LED. Connect the LED with a resistor to protect it, and use Pin 6 of the Arduino Pro Micro to control its brightness.
Additional Tips
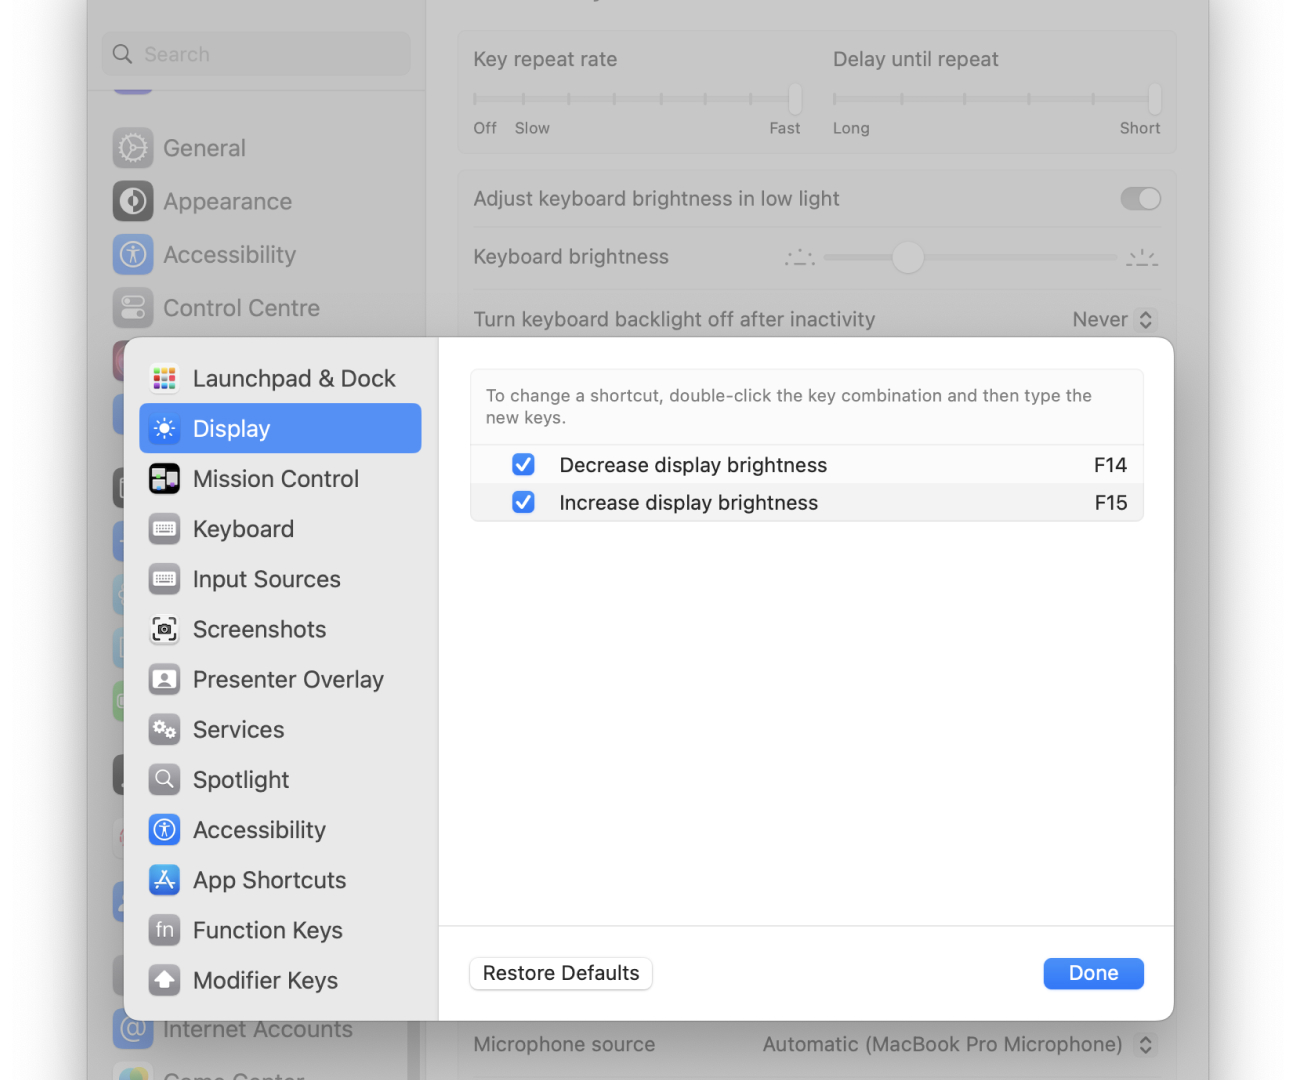
Be aware that some macOS shortcut keys don’t support F20 to F24. Keys F1 to F12 are typically used for built-in functions, and even F14 and F15 adjust brightness. To avoid conflicts, I used F19 for this project.
Initially I was planning to use it to launch Raycast, but after a few days playing around with it, I started to use it to trigger confetti, purely for fun and useless, but who doesn't like fun stuffs.

Useful Links
- Download source code and design files of this project on Github: Github
- Project on Printable: One-Key Keyboard with Breathing LED
- Project on Thingiverse: One-Key Keyboard with Breathing LED